Create an Account and Use your first Shell
How to get ready with your first shell from signup.
Create an Account
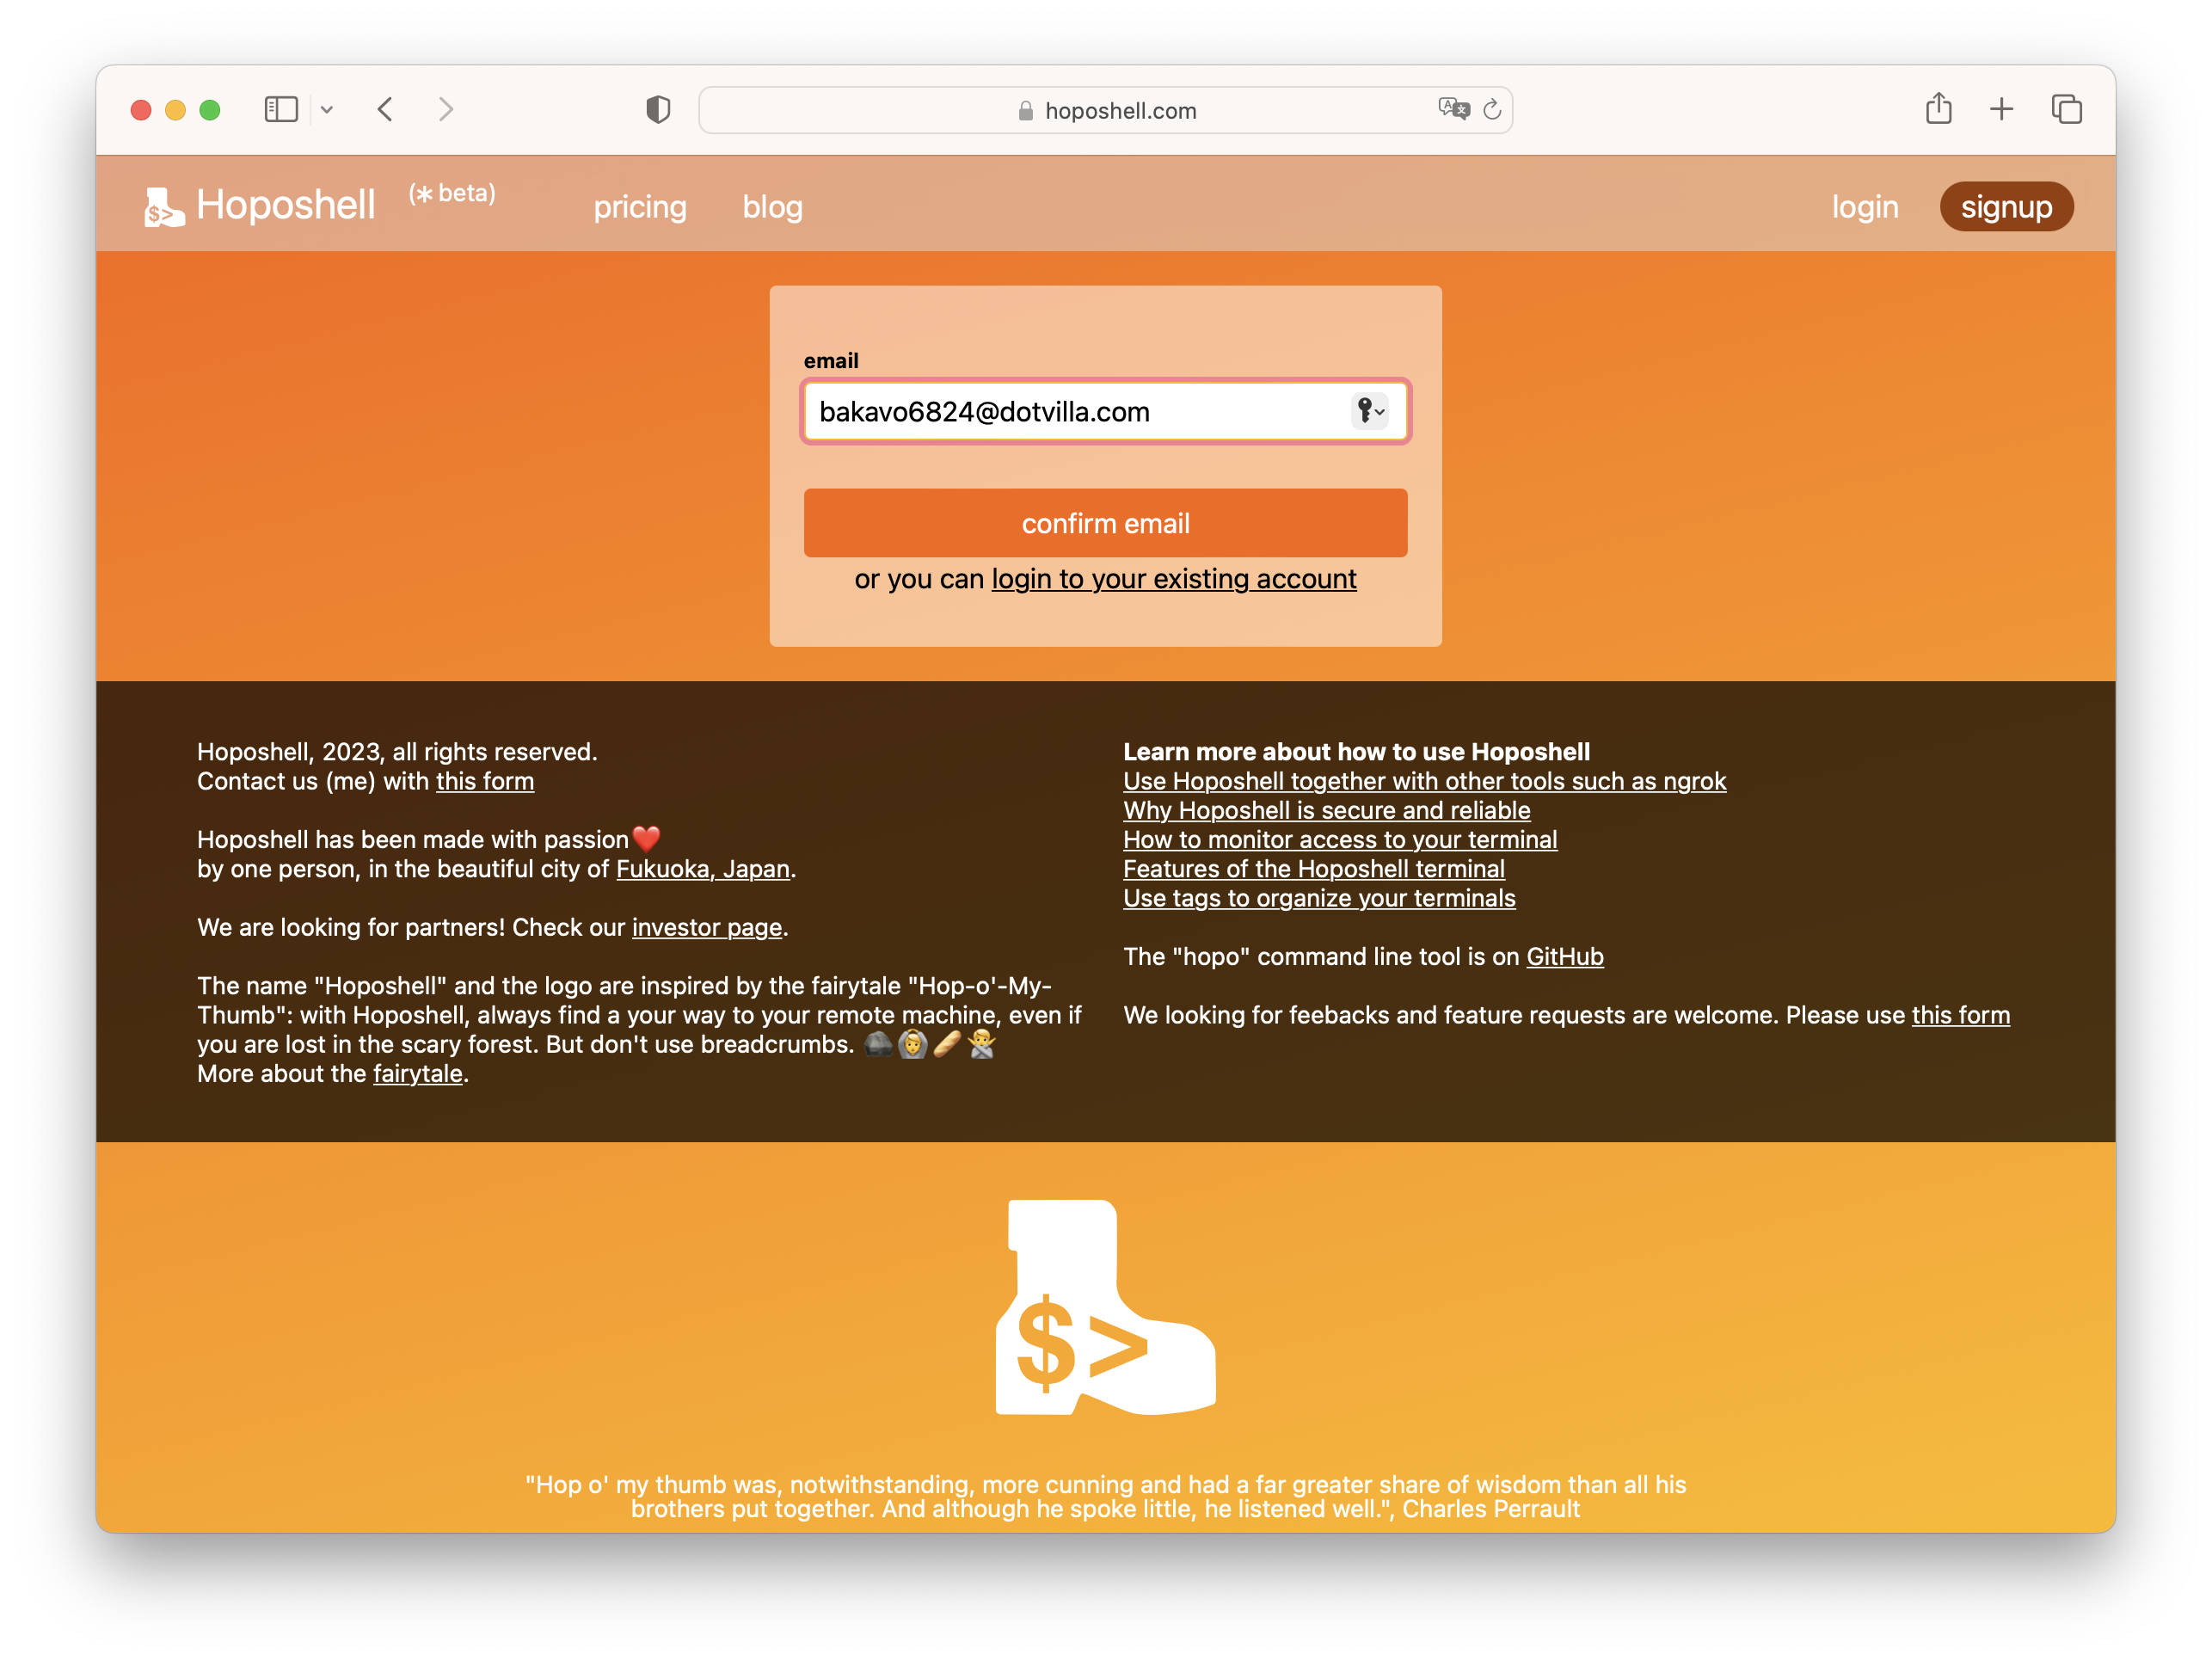
First of all, you need to create an account from the signup page. In the input field, enter your email and press "confirm email".
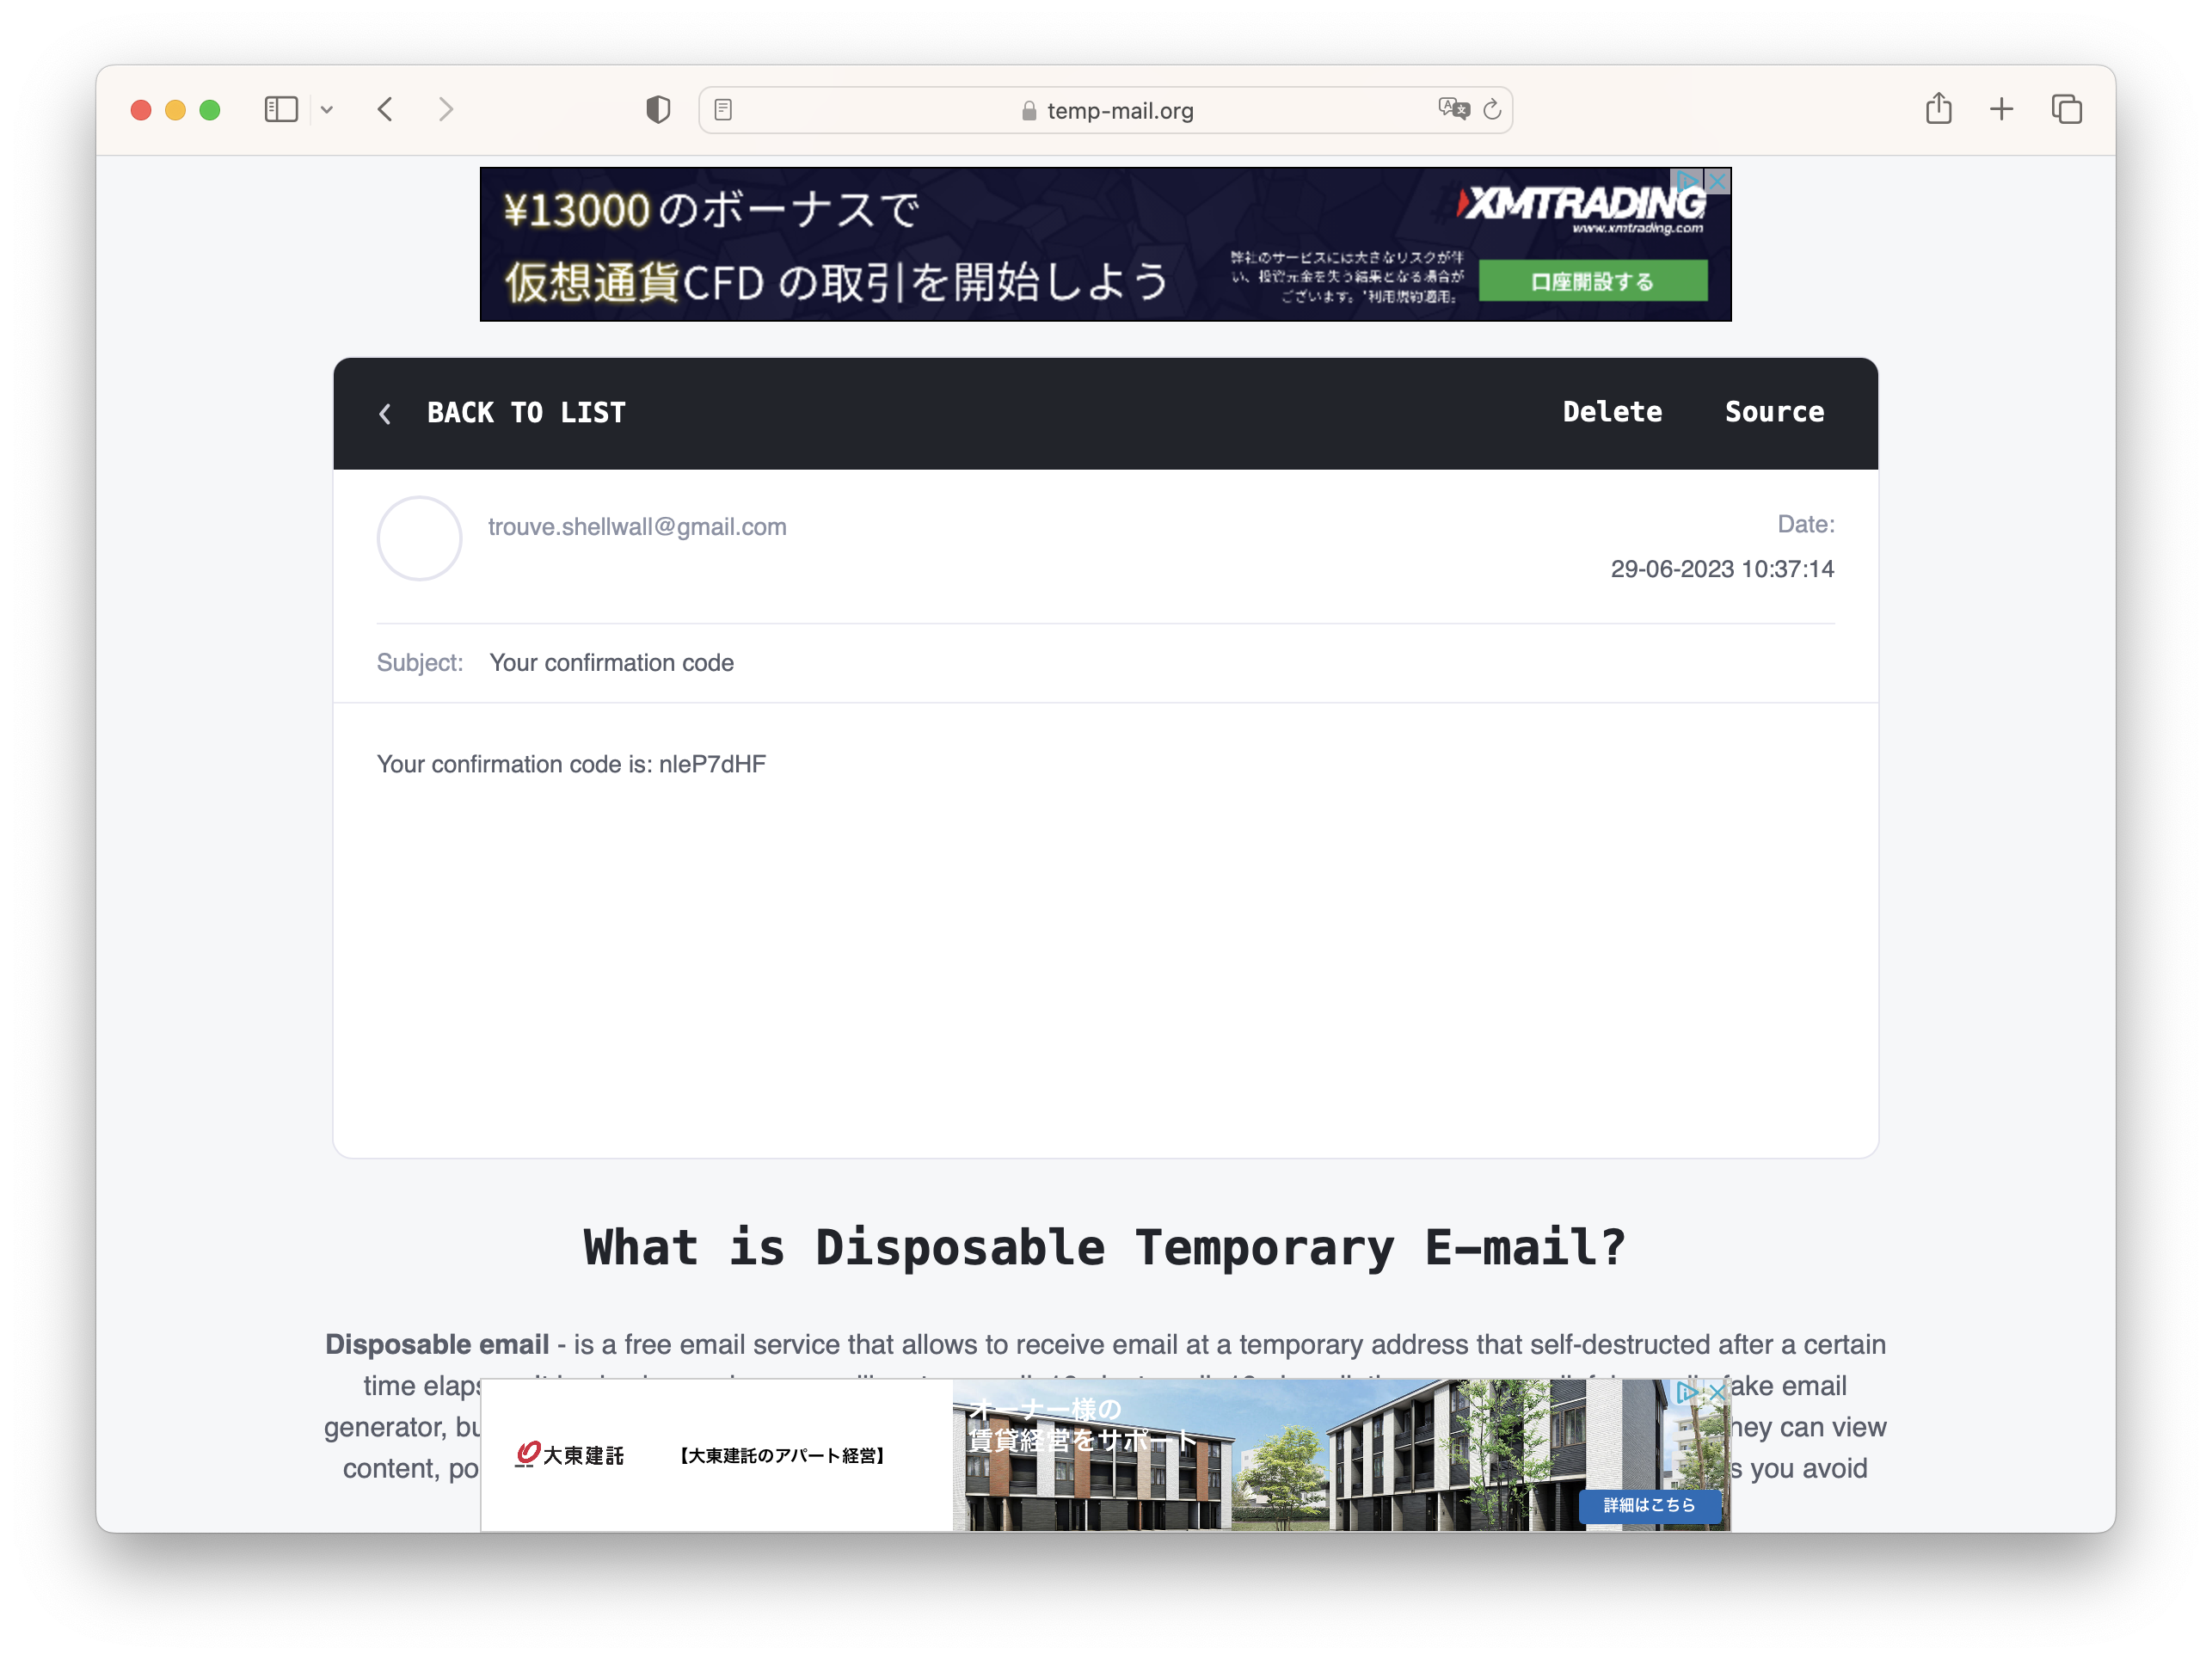
You will recieve an email on your inbox with a login code, such as below.
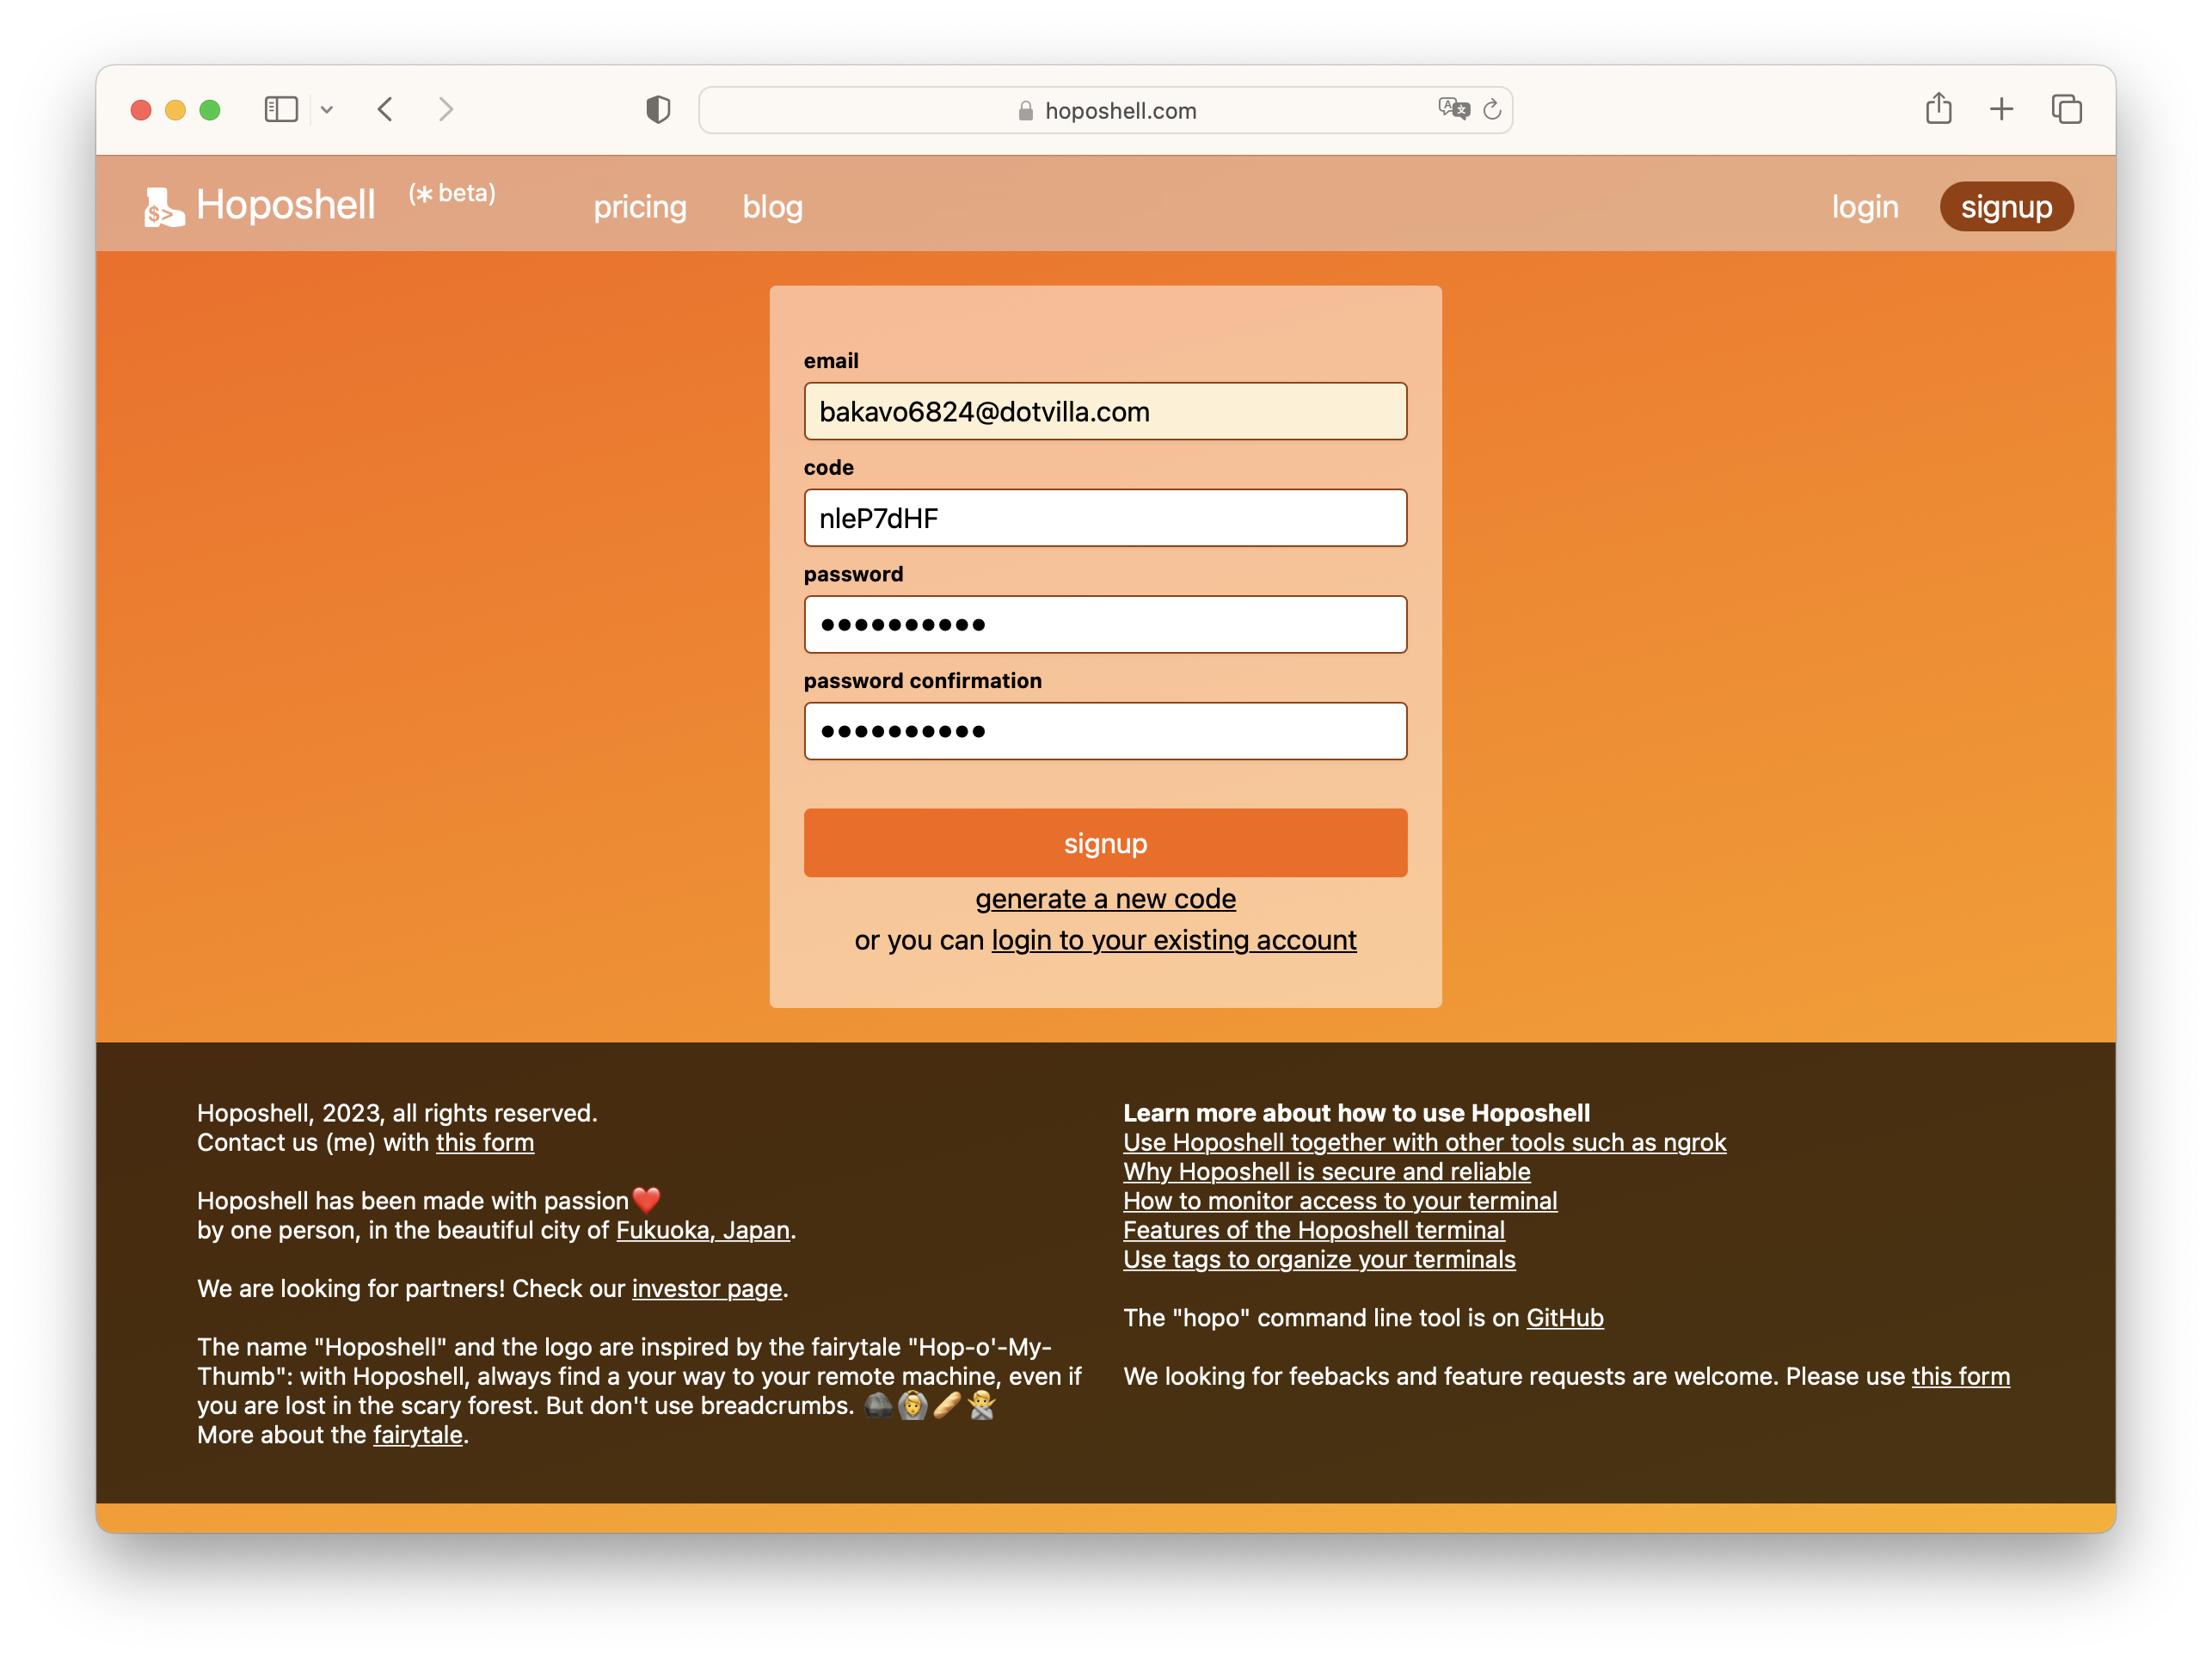
If you don't receieve the email, you can either resend the email, or change the email by clicking on the email input field. Once you have received the email, you must enter the code in the signup field, together with your password.
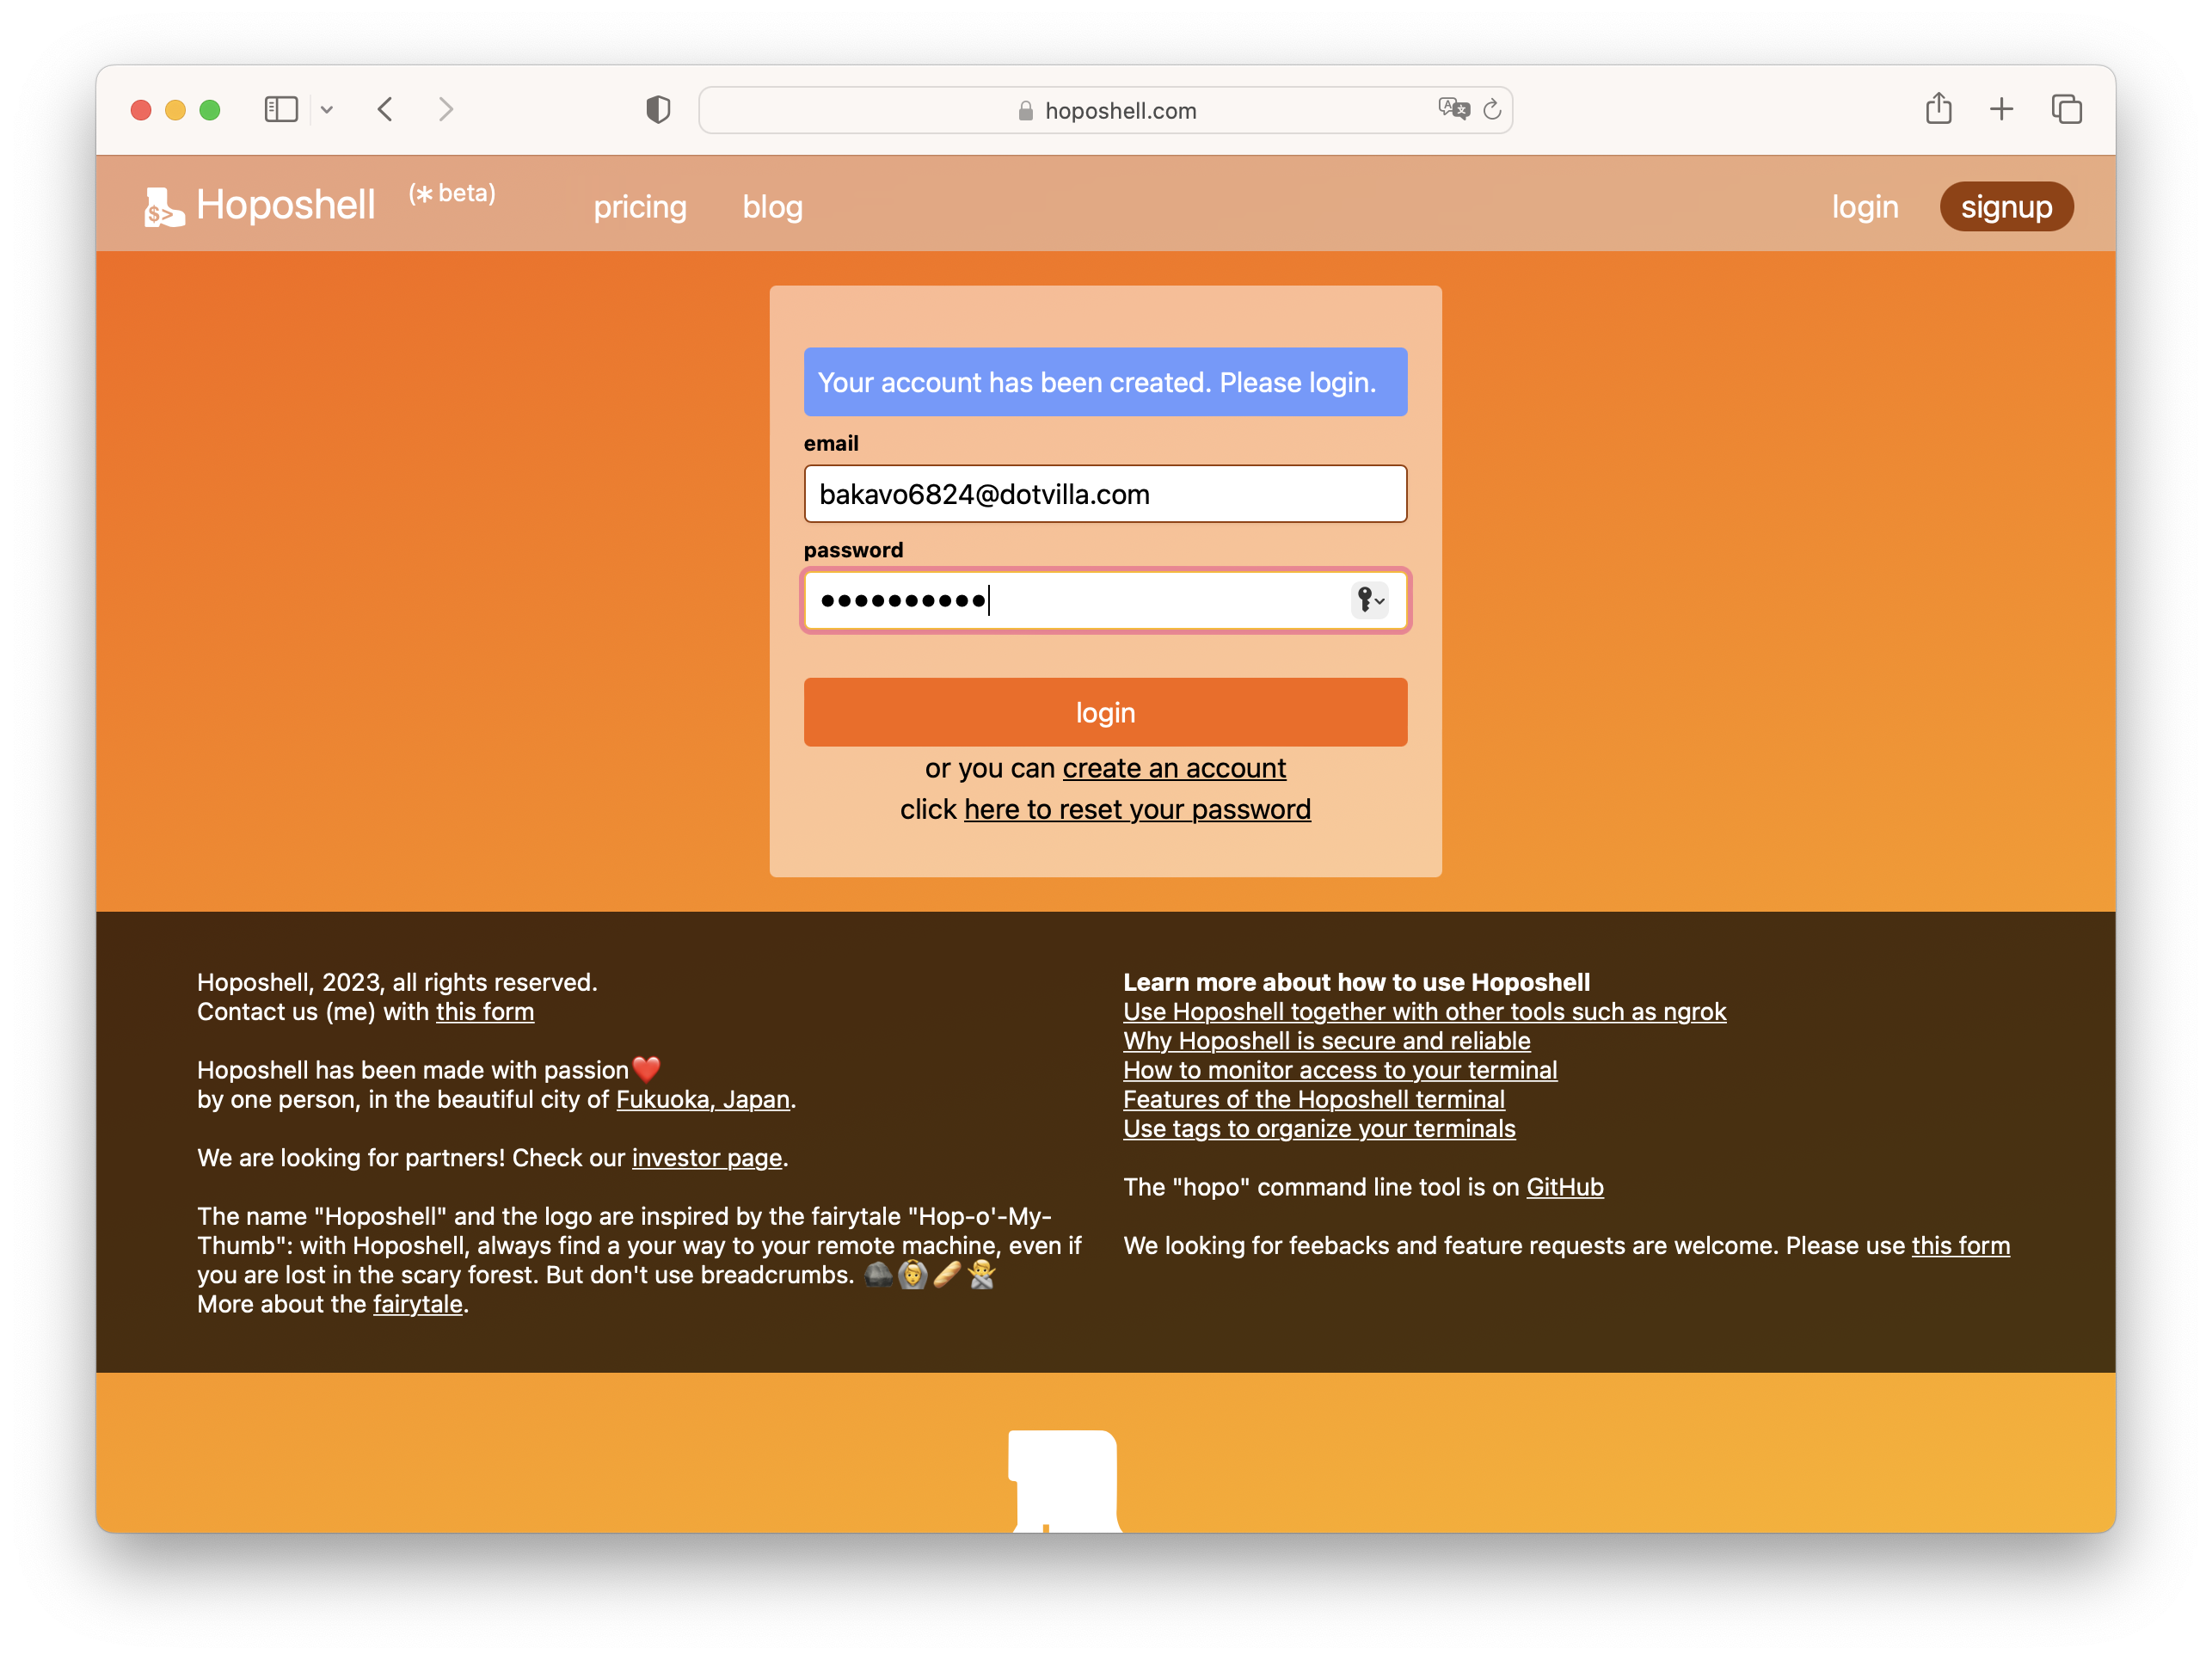
You are now redirected to the login page. Enter the email and password you just input.
Create a Shell
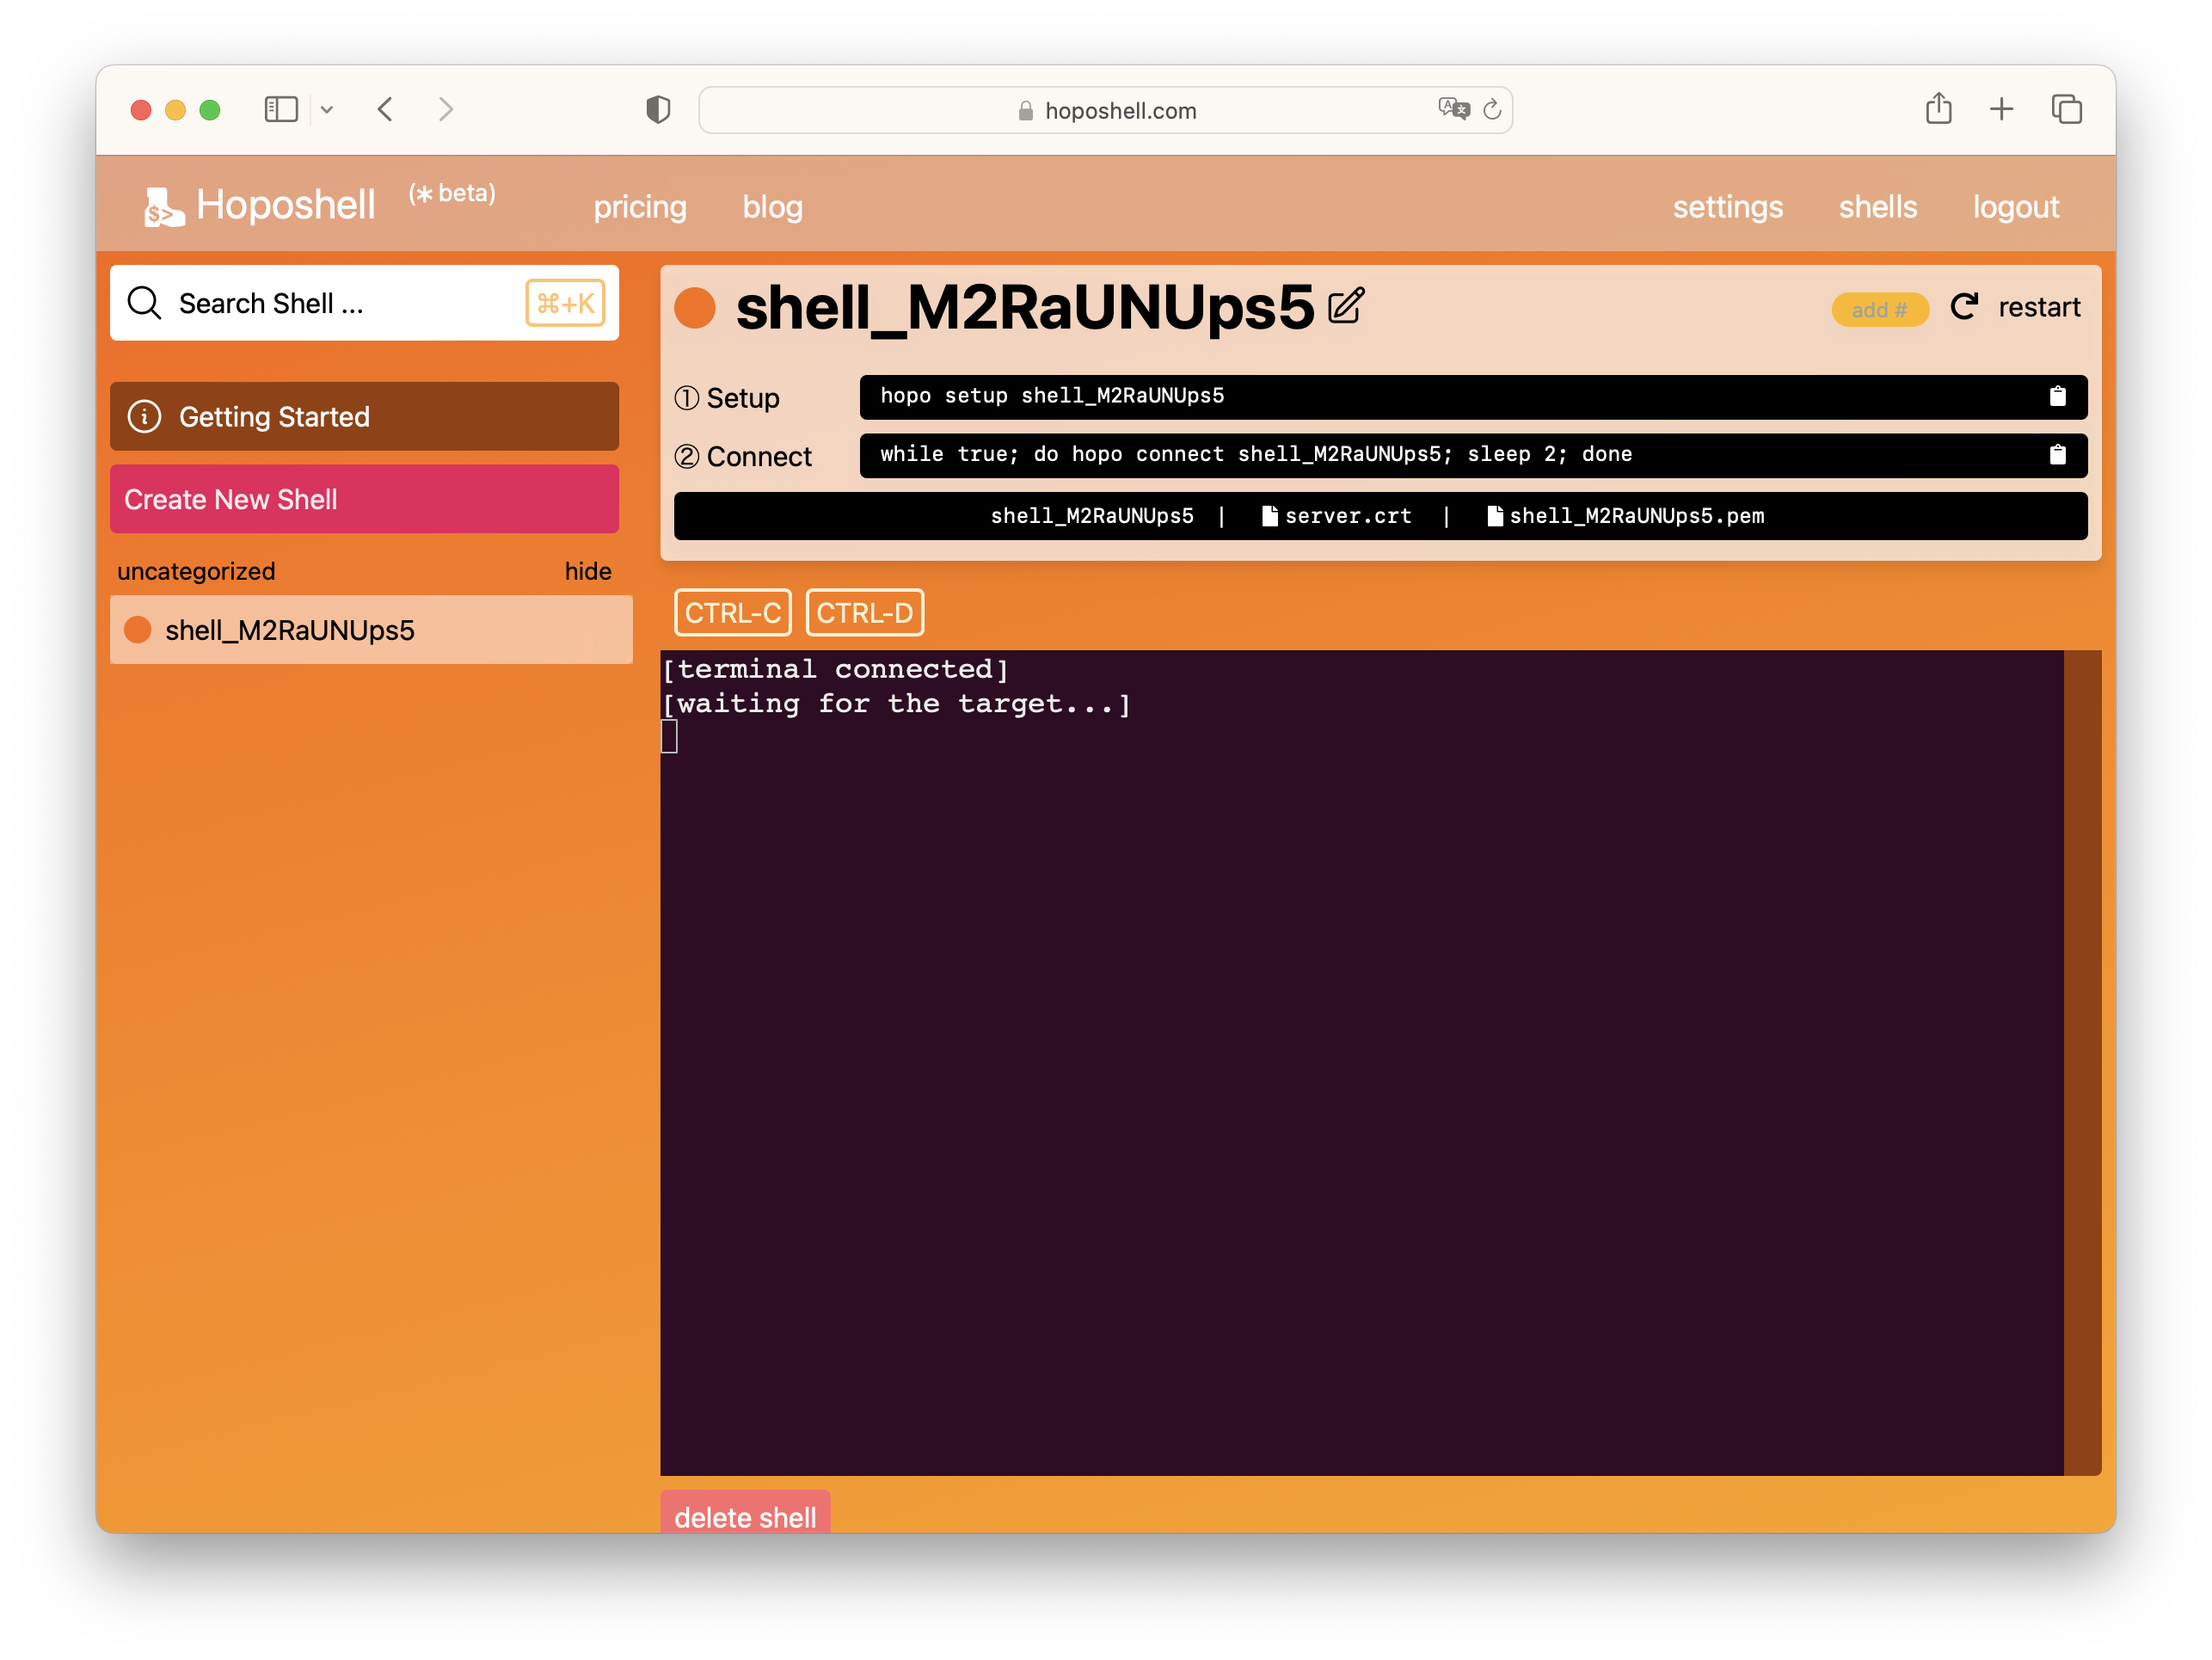
You are now redirected to the main page. There is nothing to see yet because you don't have any shell. You can create a shell by clicking on the dedicated button Create New Shell at left of the screen (you may create up to 2 shells without subscribing to a plan)
Configure your Environment
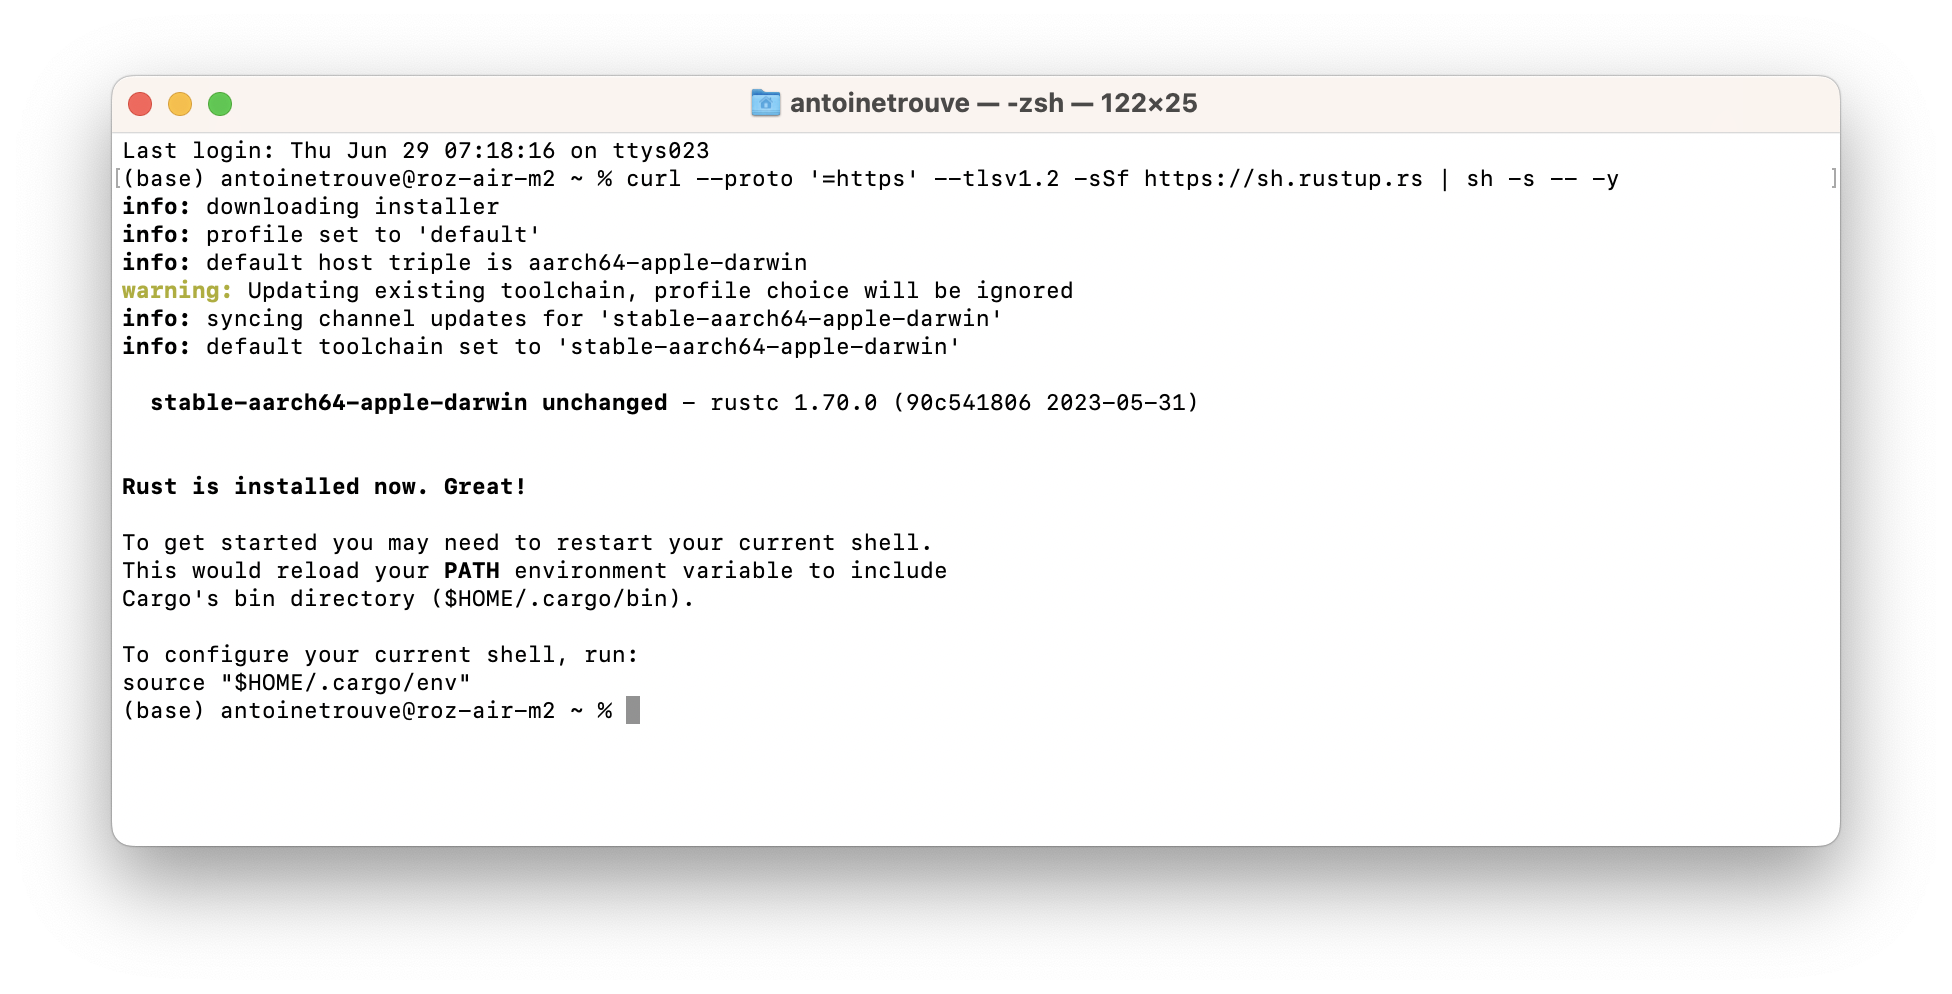
Now you need to connect a computer to the shell you have just created. To this end, you must install the hopo command line with the instructions from the getting started page. First, install cargo , the Rust package manager. It should take about one minute (you may ignore this step if you have already installed cargo on your computer).
$> curl --proto '=https' --tlsv1.2 -sSf https://sh.rustup.rs | sh -s -- -y
Next, you must install the hopo tool with the command below
$> cargo install --git https://github.com/trouve-antoine/hoposhell-client
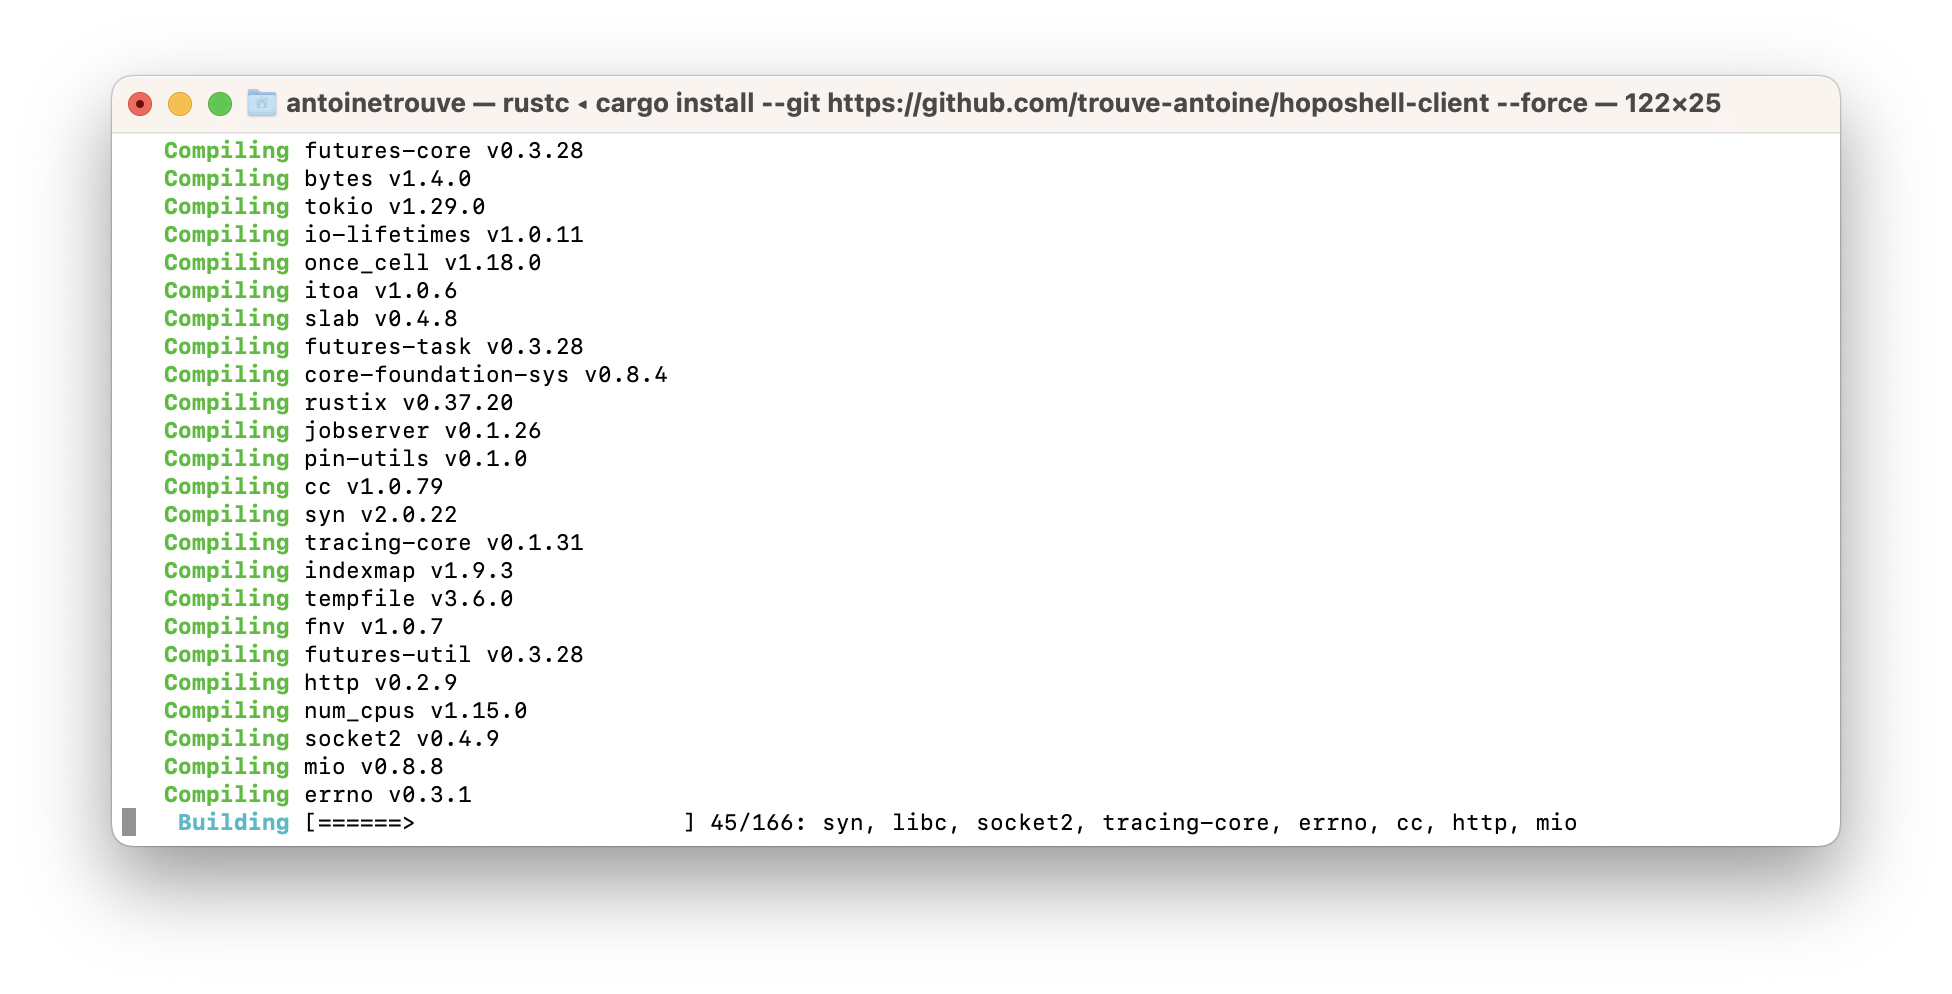
This command may take 5 minutes, while cargo updates its database and compiles the hopo command. You may need to execute this last command regularly to keep the hopo command version up to date.
Login your computer to your shell
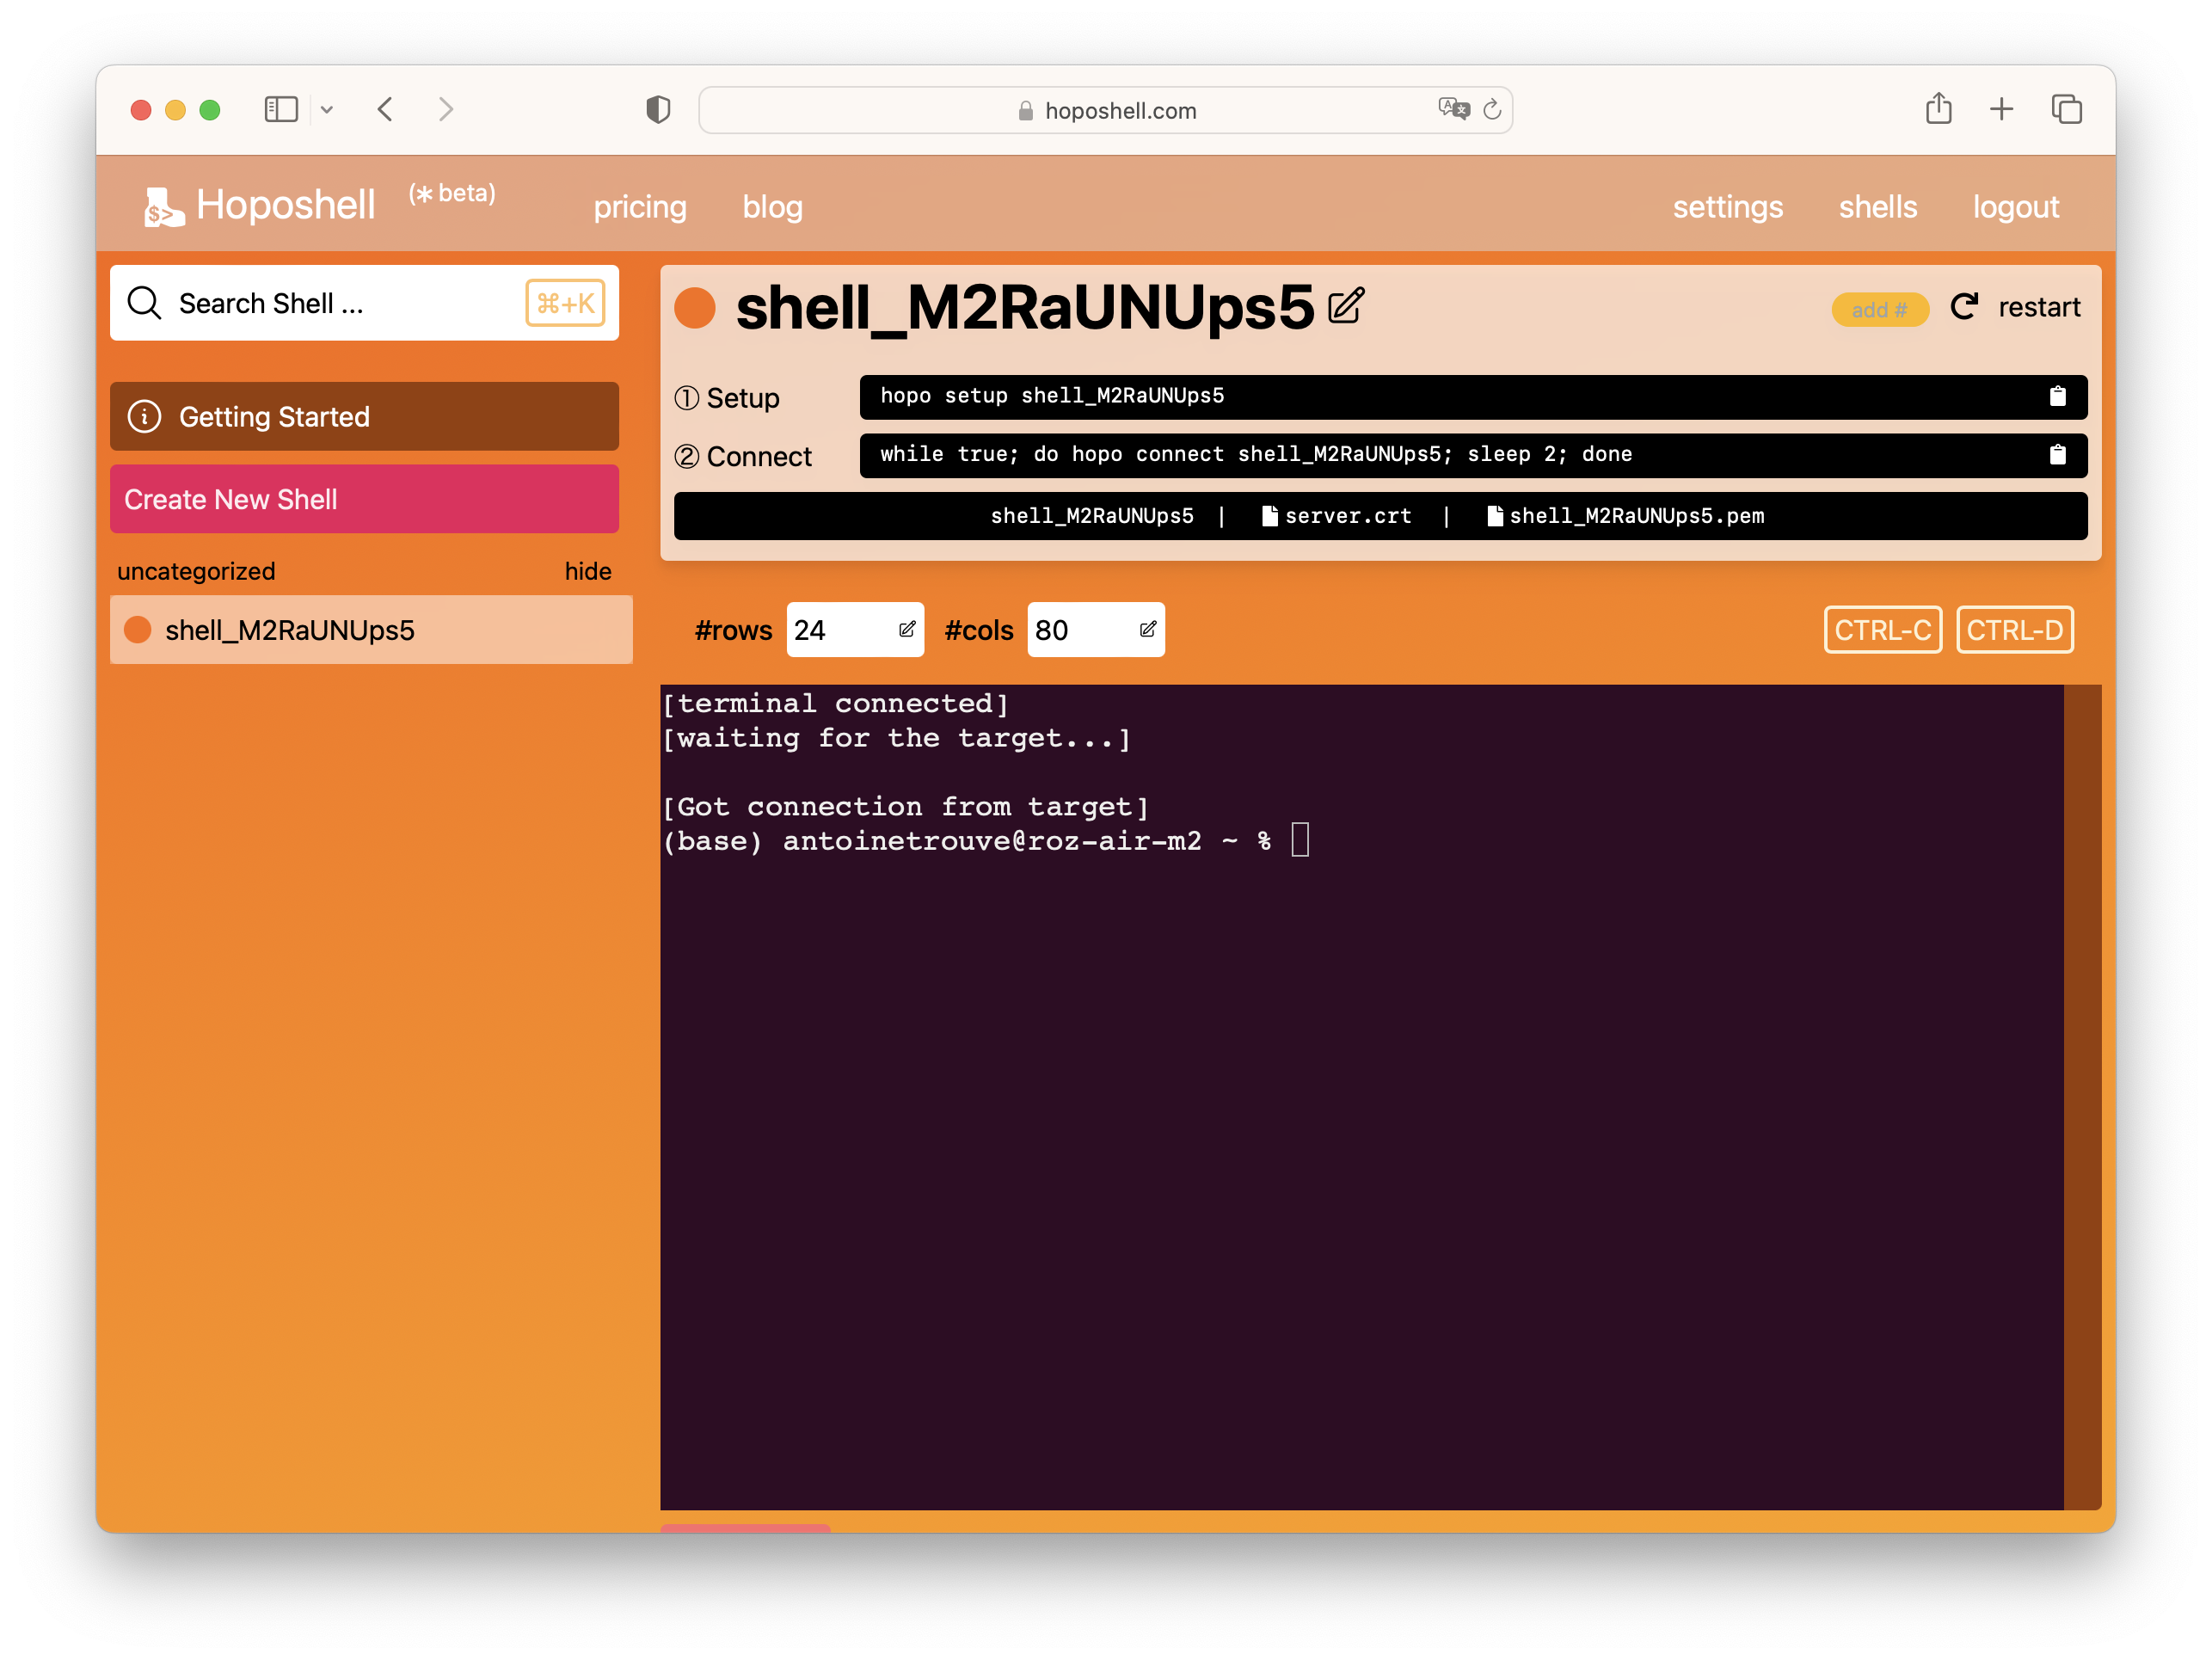
Once hopo is installed, you must link your computer with the shell you created earlier. For example, for shell shell_M2RaUNUps5 the command is (you can copy this command from the shell page):
$> hopo connect shell_M2RaUNUps5
The command should ask for a login code:
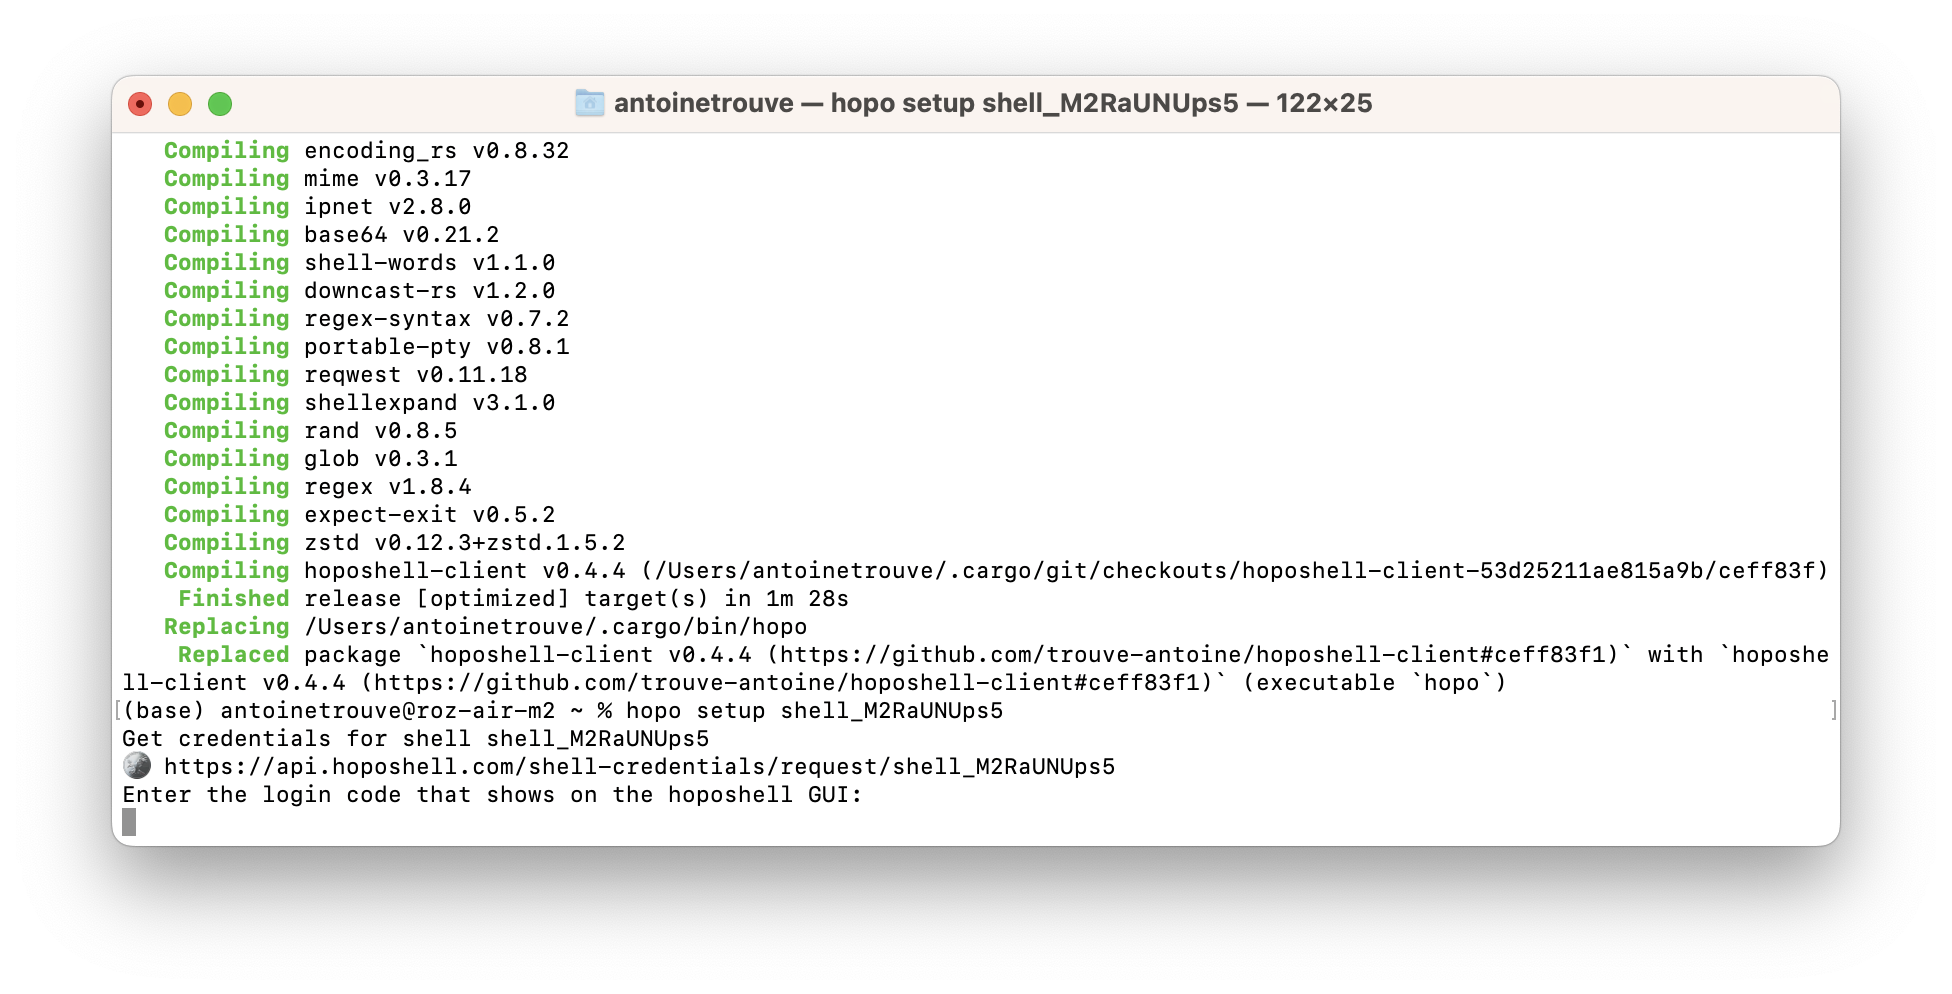
This login code is displayed in the hoposhell GUI to anyone logged with account that corresponds to the shell:
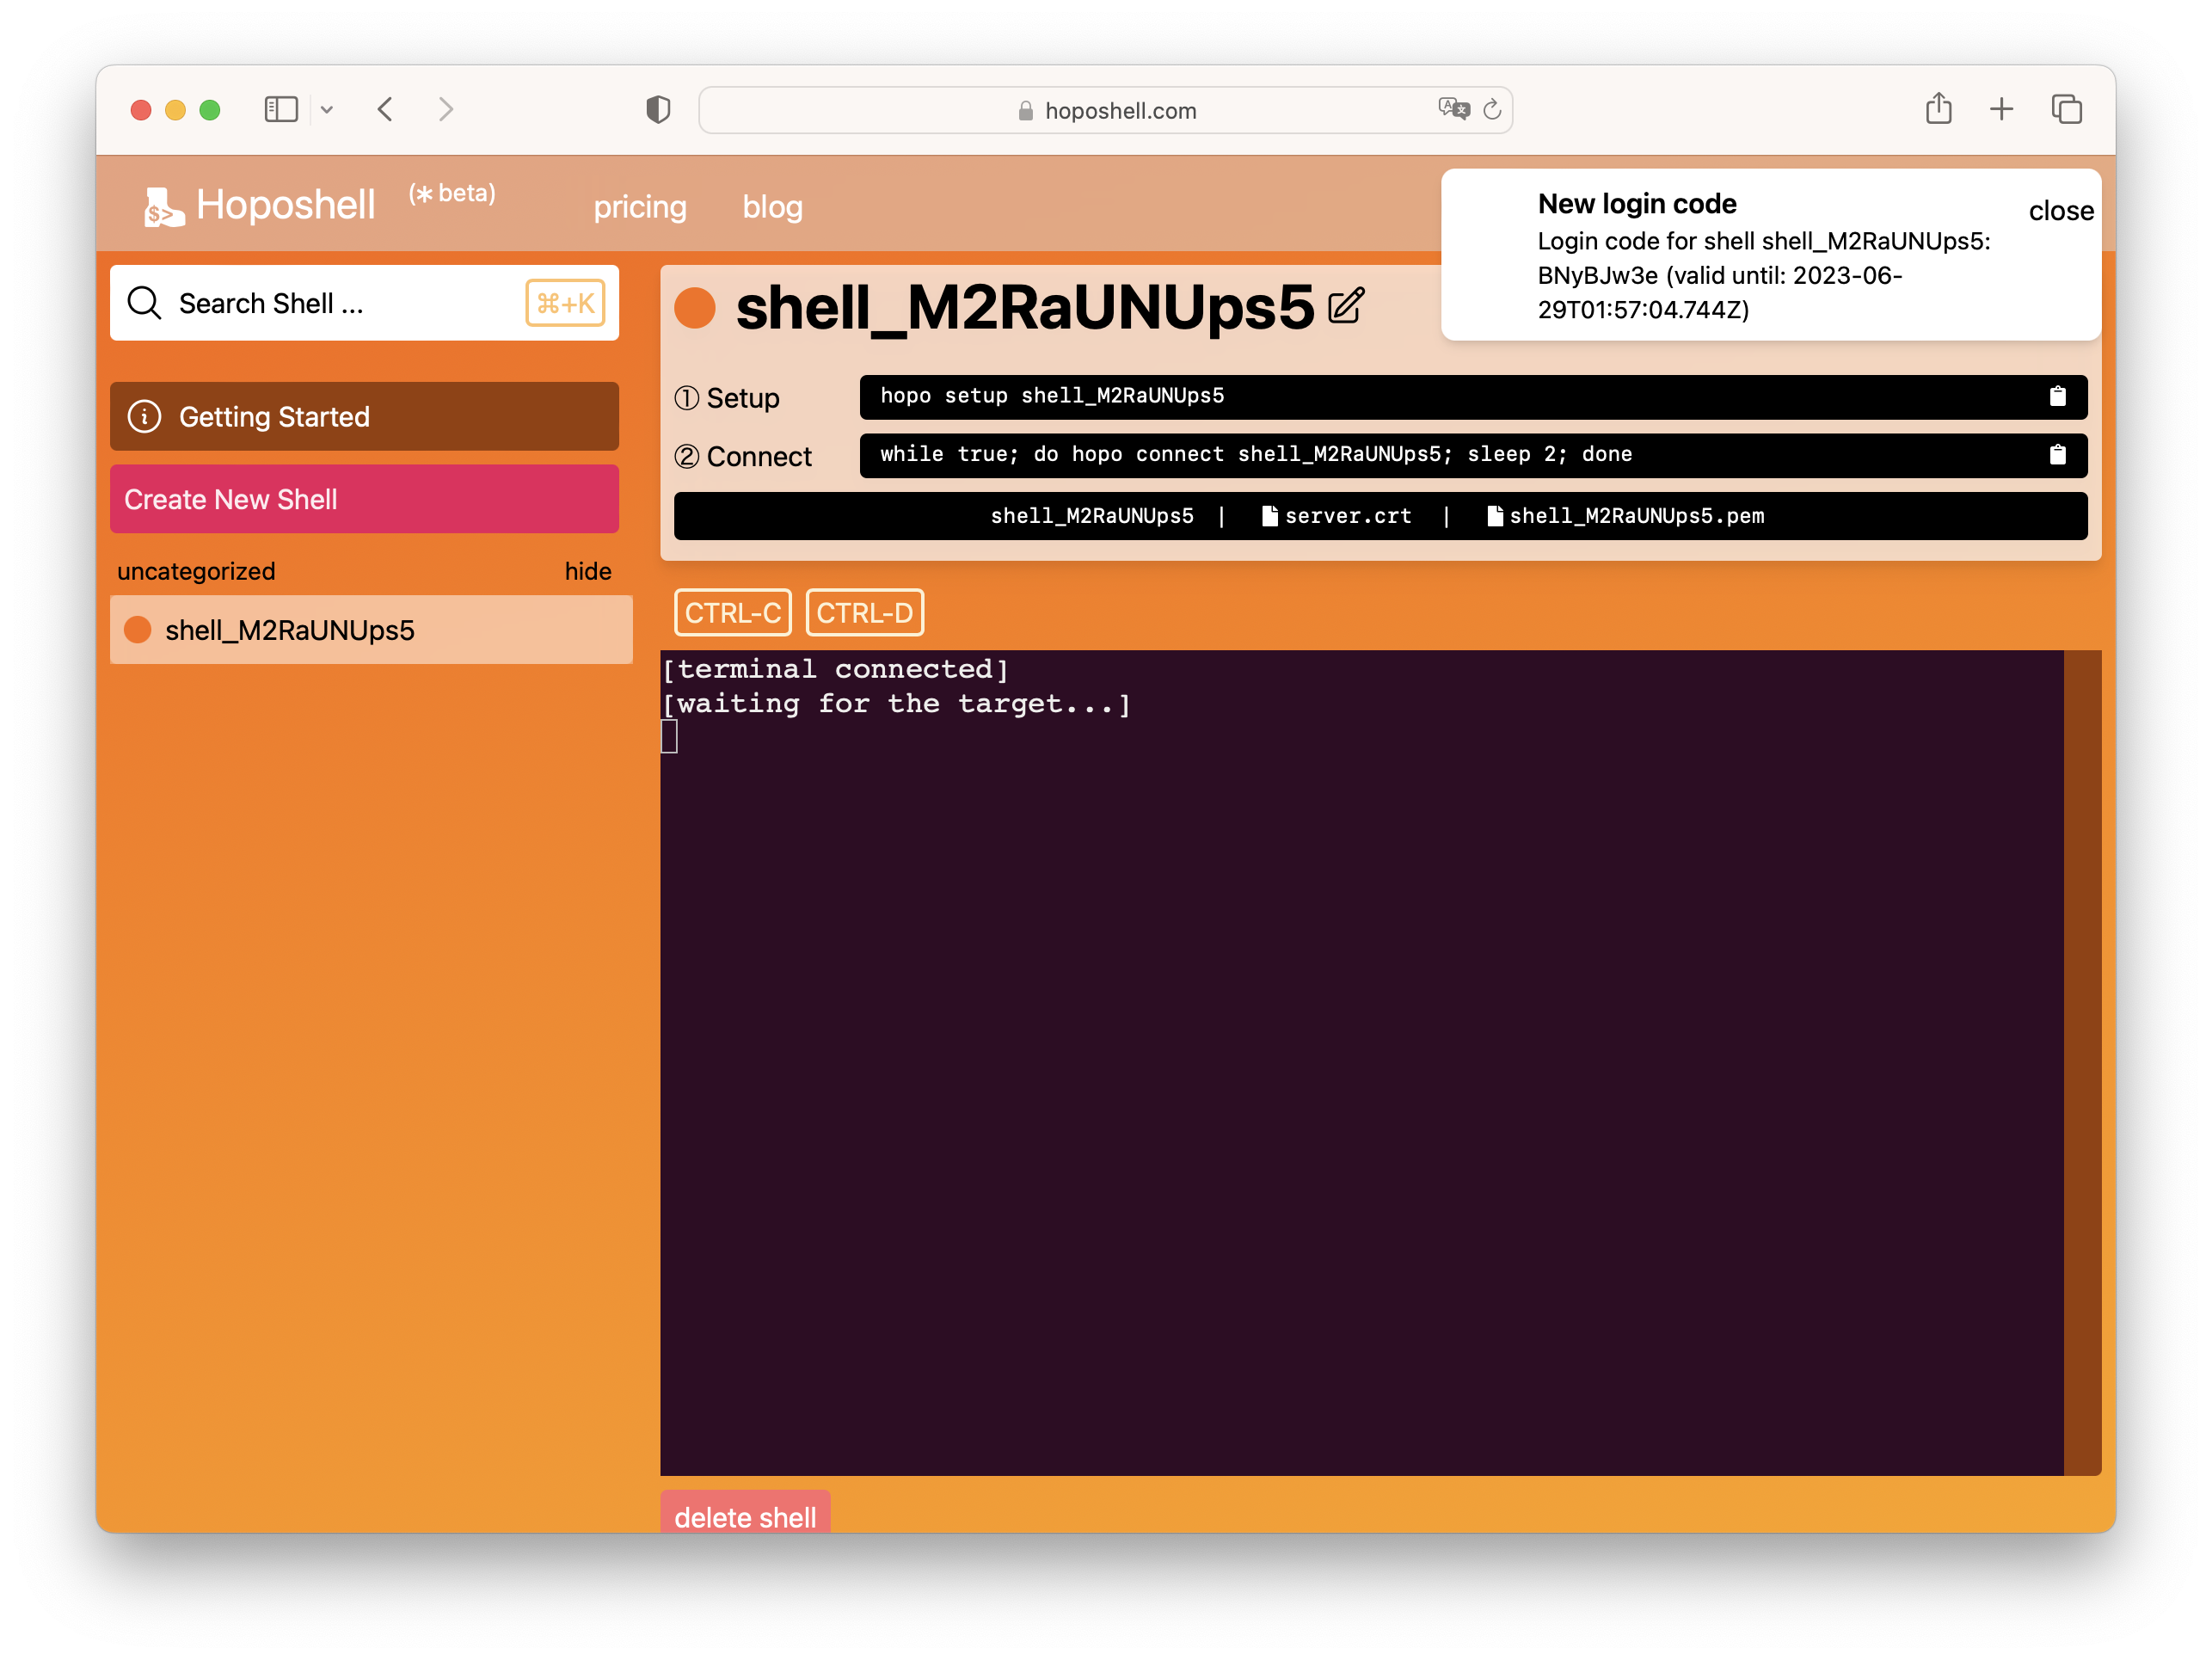
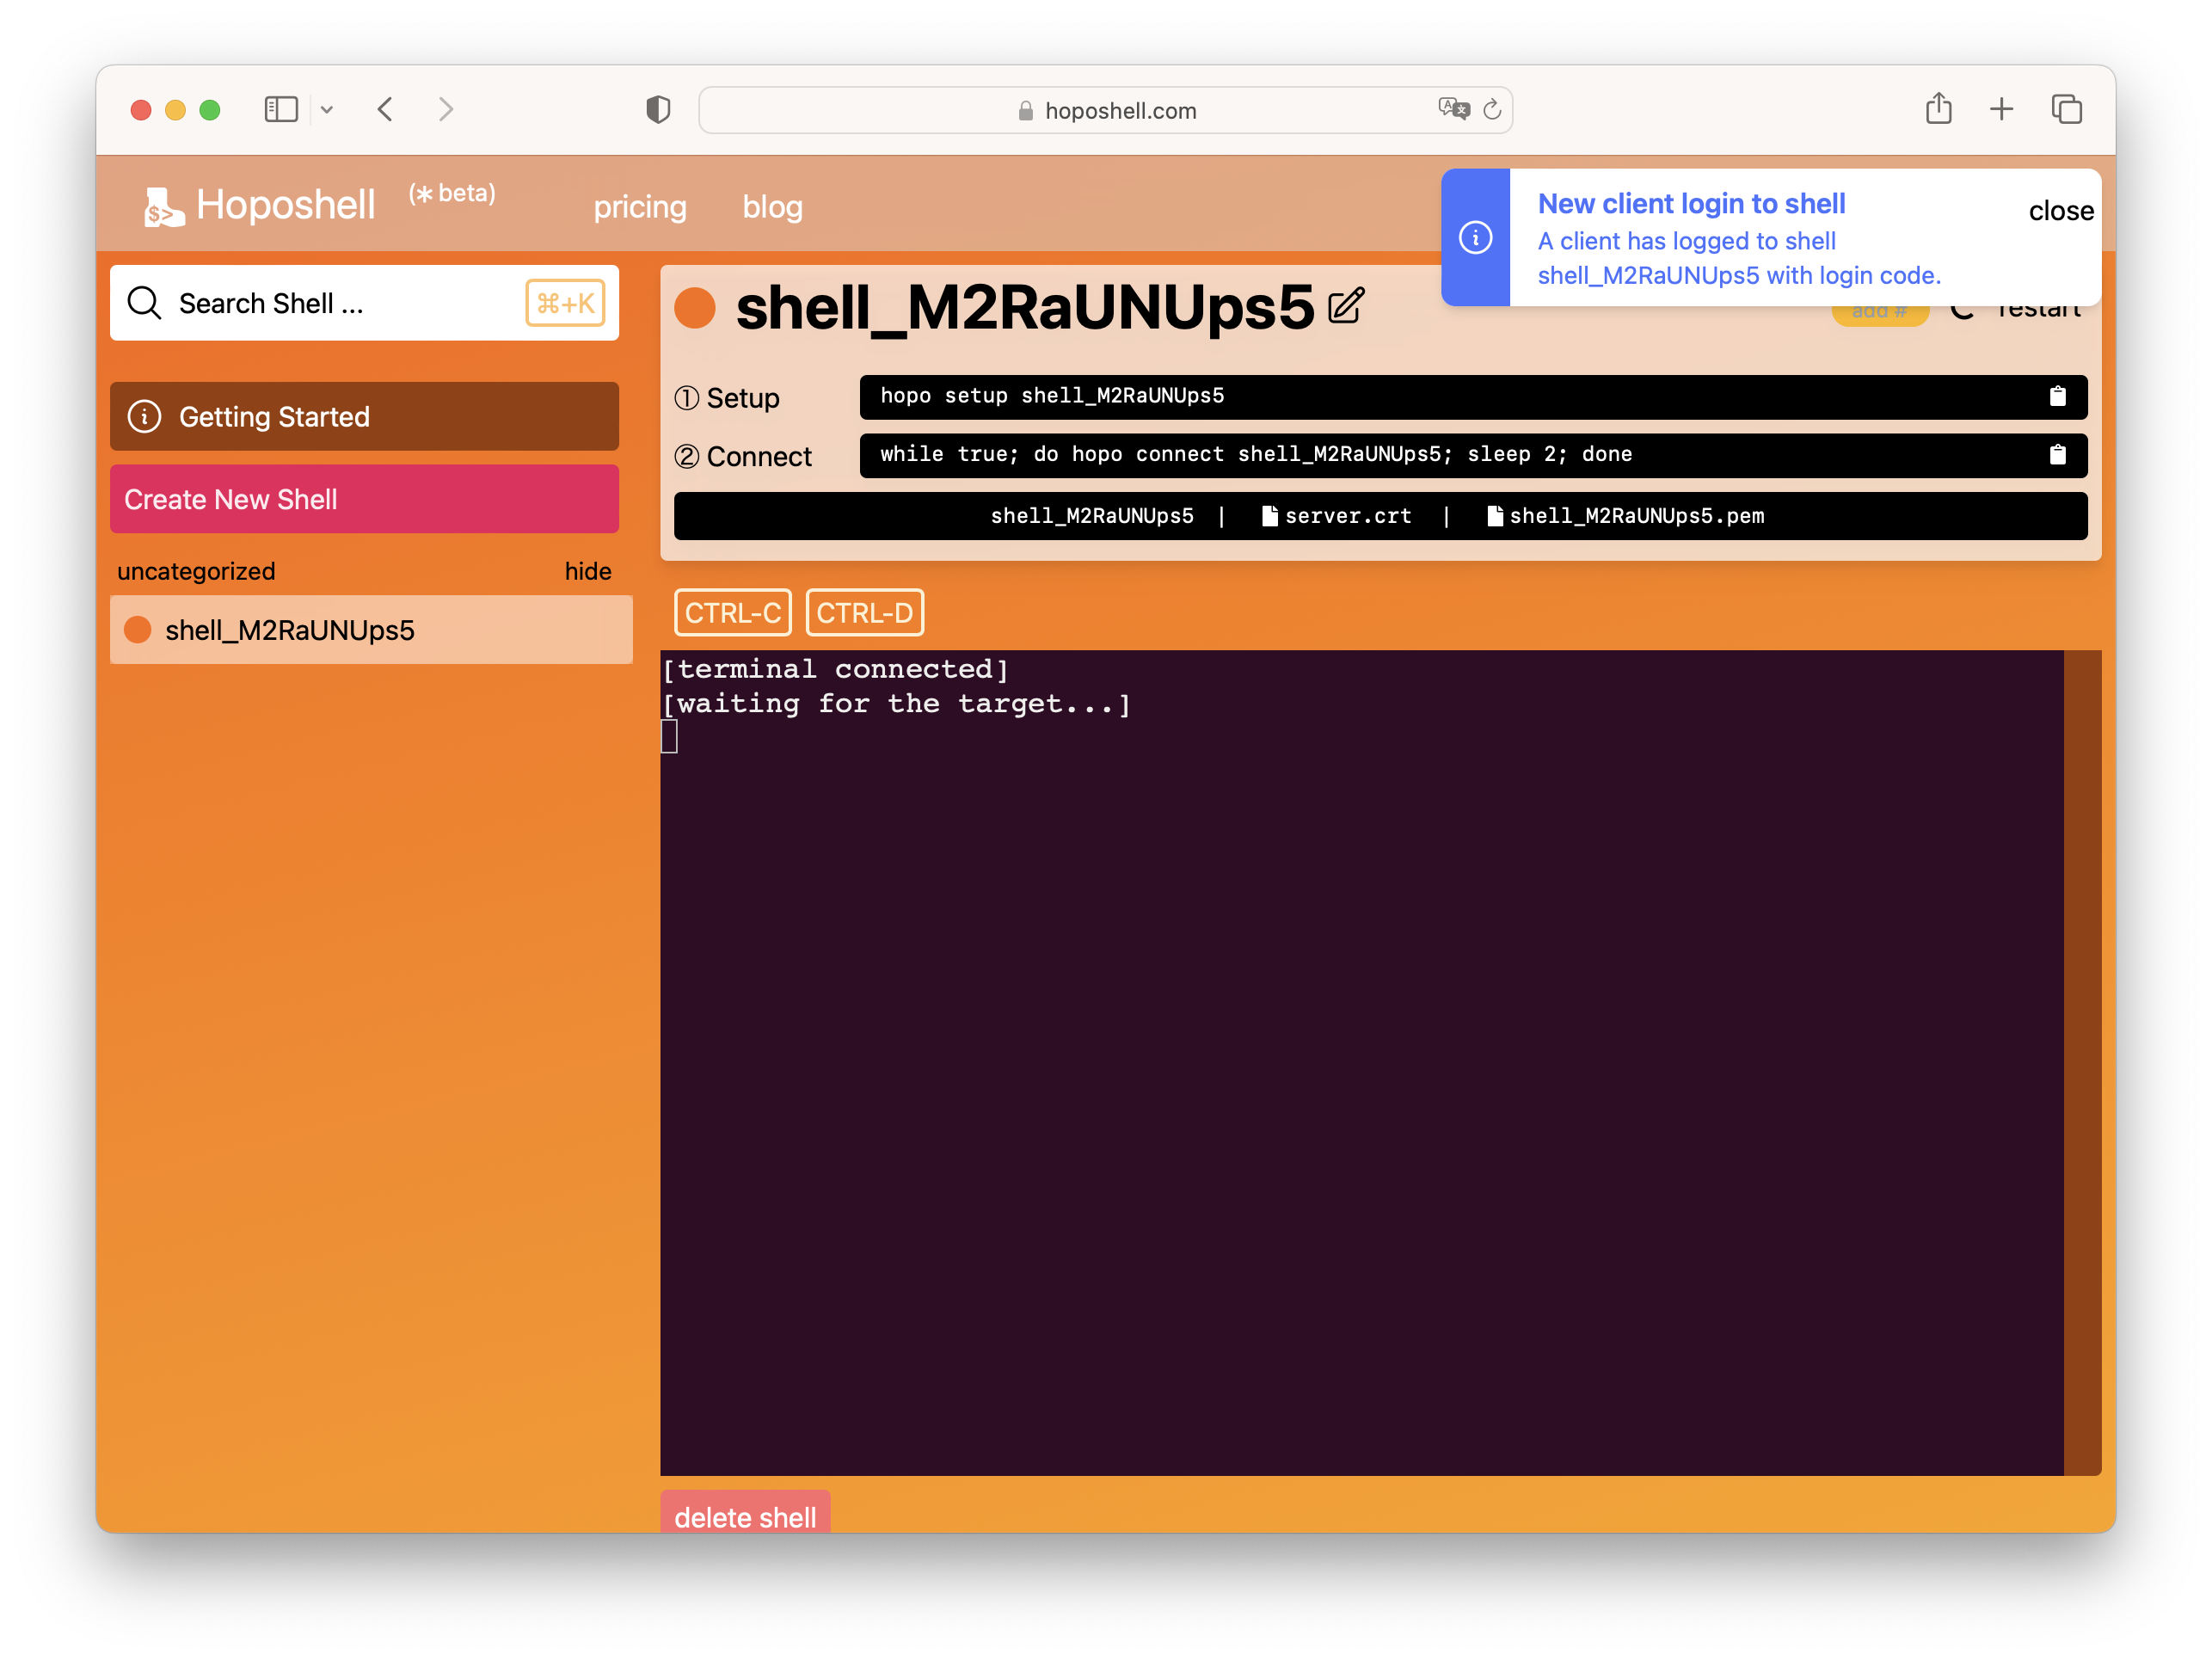
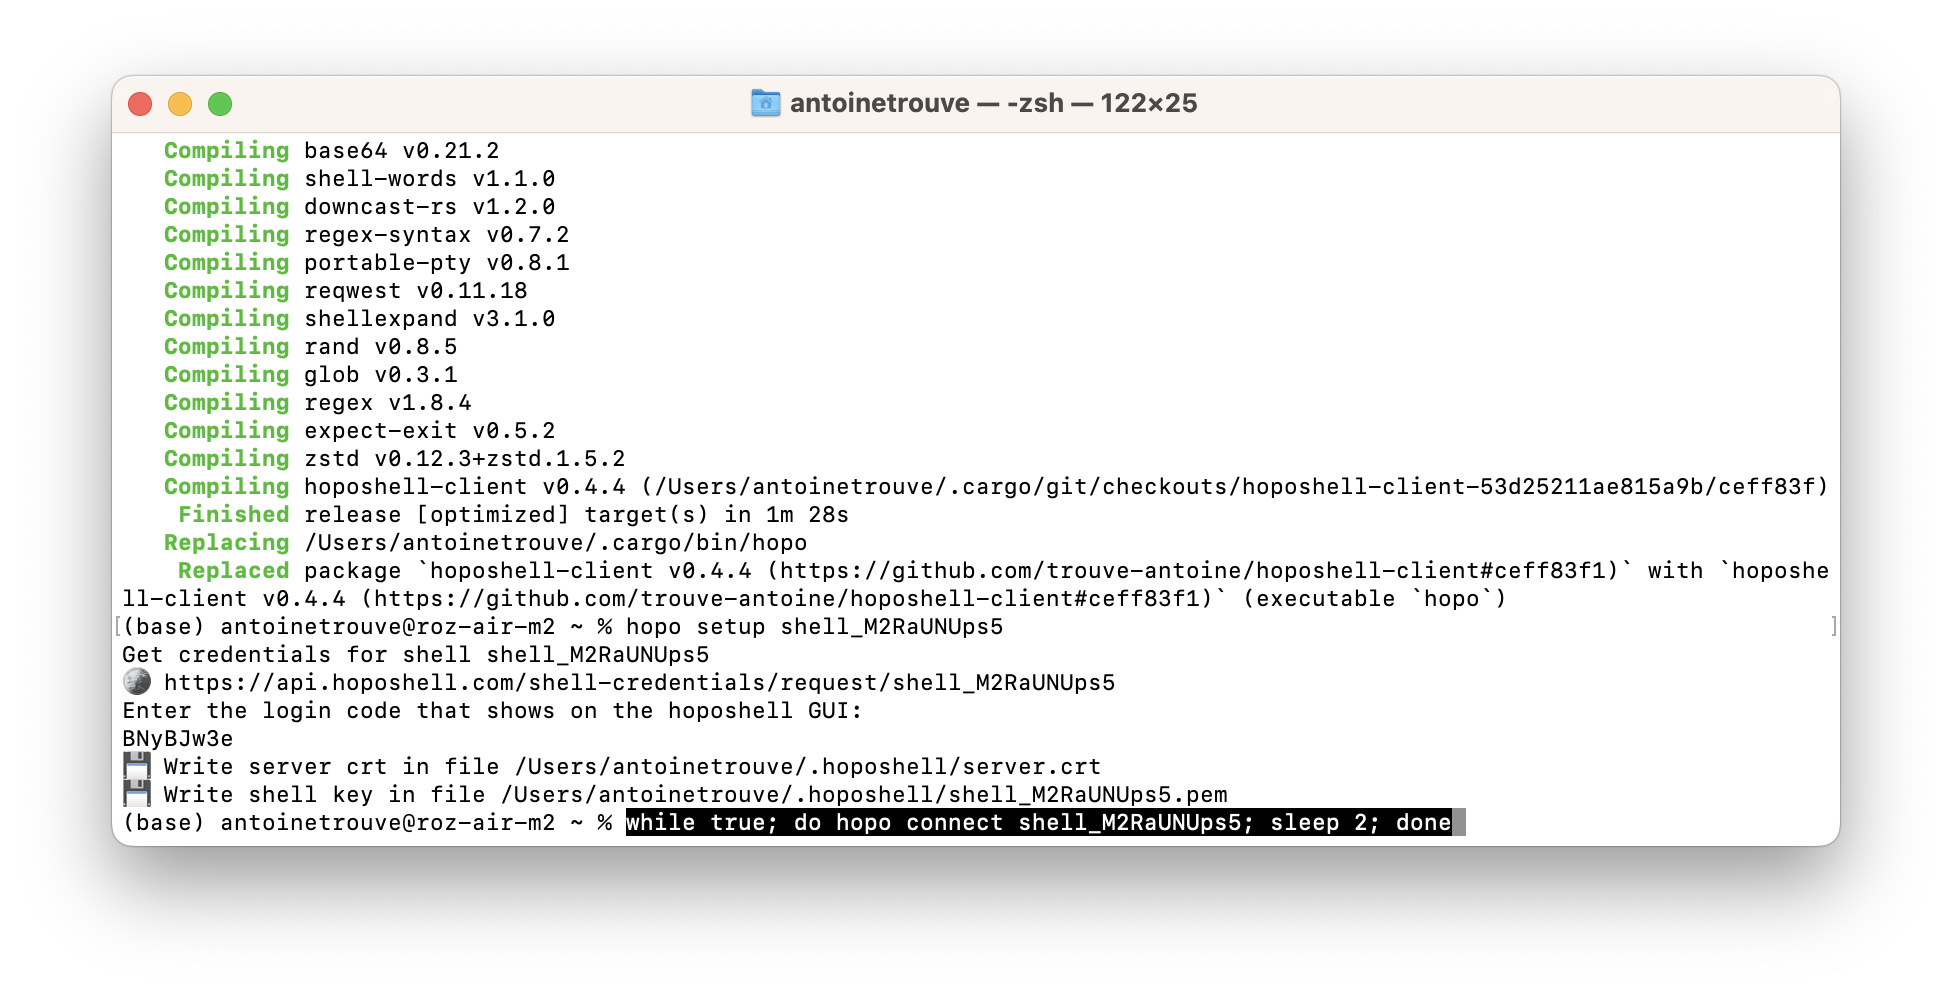
Copy this code to the command line: your computer is now logged for the shell. A message should also show in the GUI.
Connect your computer to your shell
Once hopo setup succedded, you can connect your shell with the command:
$> hopo connect
If you have more than one shell configured on your computer, you also need to specify the shell id:
$> hopo connect shell_M2RaUNUps5
Or you can also copy the command line from the shell page: it wraps the connect command to a loop so that it reconnect automatically in case of network issue.
$> while true; do hopo connect shell_M2RaUNUps5; sleep 2; done
You should now be able to enter command in the hoposhell GUI. This shell is available to anyone logged to your Hoposhell account on a browser, as long as your computer has internet access.
Extra: display images in the shell
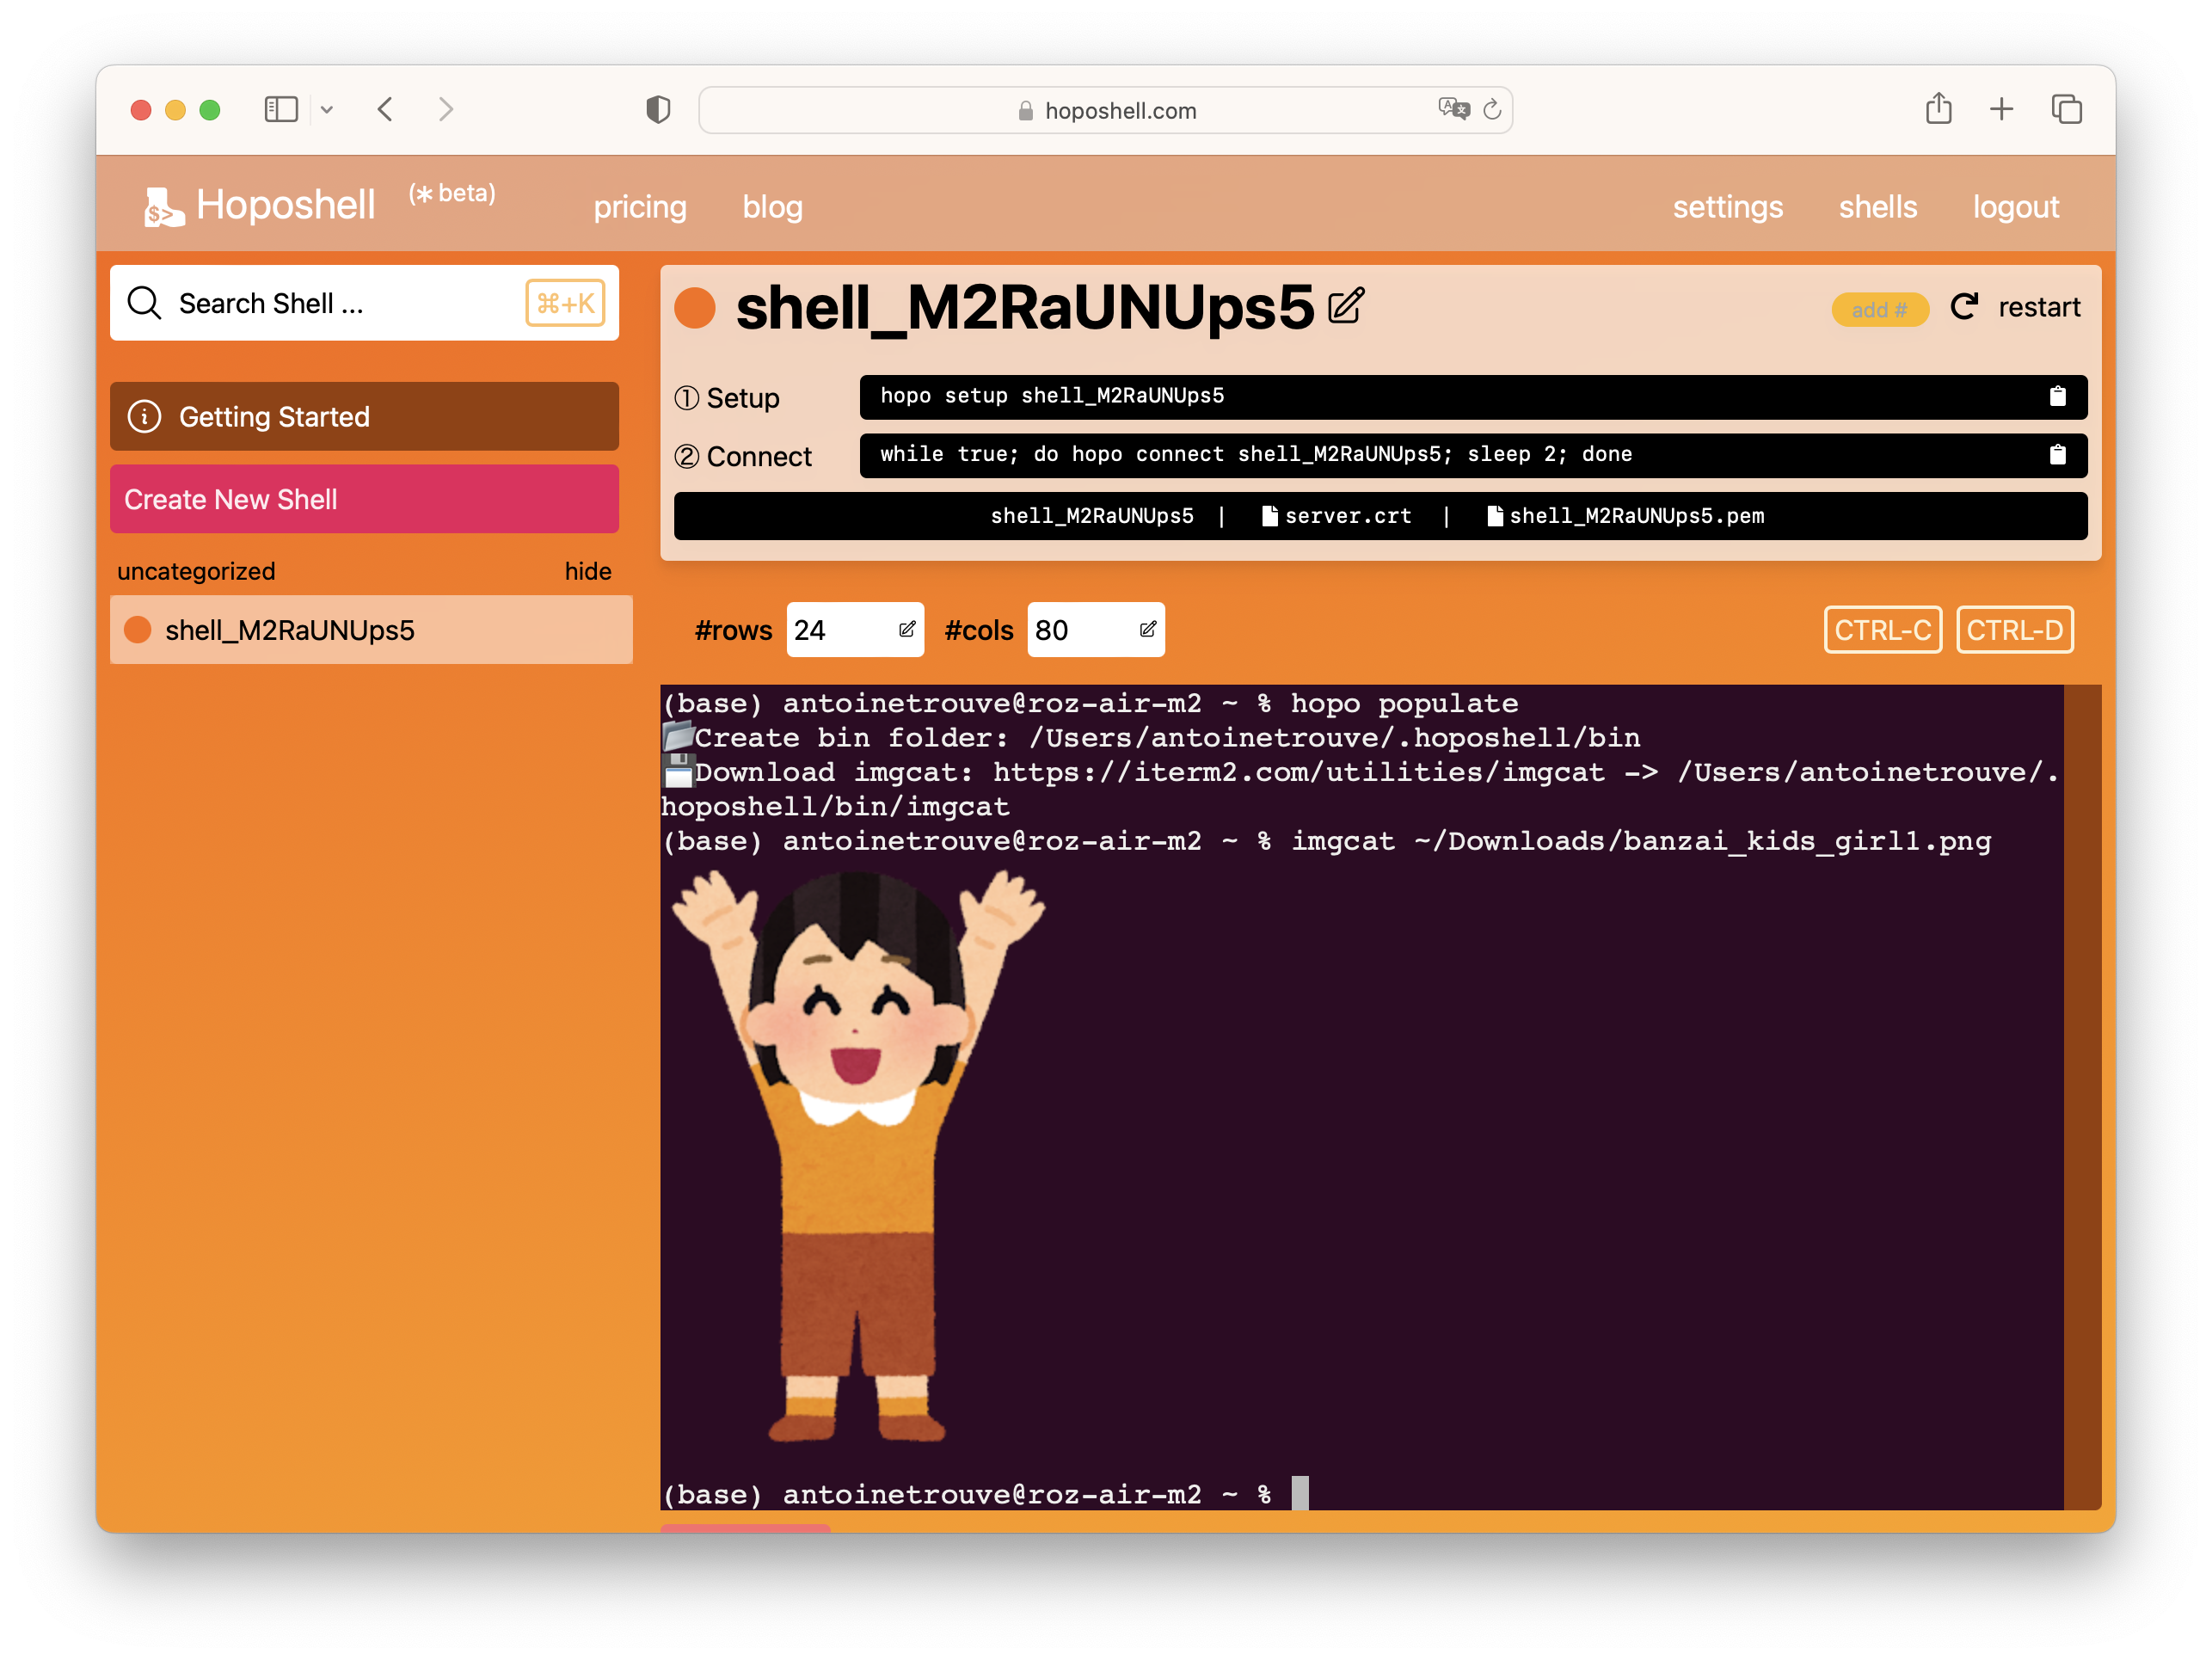
The hopo command can install the imgcat command for you. It allows to display images straight in the terminal: you don't need to download images to see them locally!
- install the imgcat command:
$> hopo populate
- display images
$> imgcat <your image>
